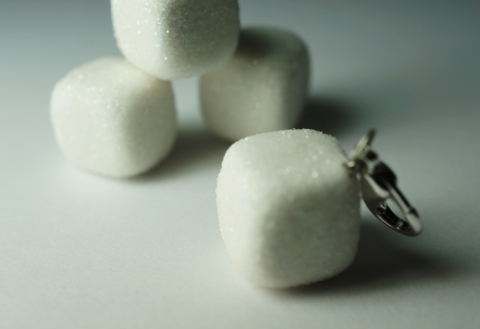
Sugar Cube Tutorial
Created by Heather of Sweet & Savory Trinkets
Level: Beginner
Time: 30 Minutes
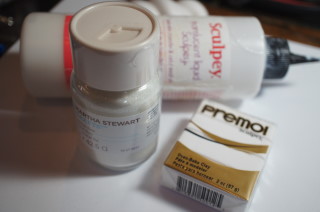
Materials:
1- 2oz Package White Premo Clay
Translucent Liquid Sculpey (TLS)
1 Bottle Fine Clear Glitter
A few Sheets of Plain White Paper
Baking tray
Sculpey Satin Glaze
A noteon Materials:
I use the Martha Stewart fine glitter for this project. You can use any clear glitter, I just feel that fine glitter make it more realistic looking.
I bake most of my minis on white paper in my baking tray, because it will keep your pieces matte looking.
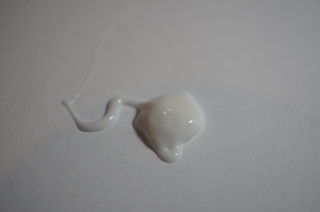
Step 1: Condition your clay, and put it aside. Pour a generous amount of glitter on a plain white sheet of paper. Pour a small amount of TLS on another sheet on paper.

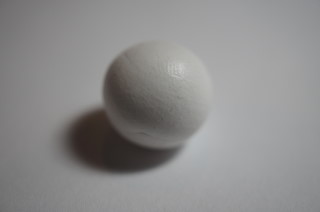
Step 2: Take some white clay and roll a 15mm (charm size) ball of clay
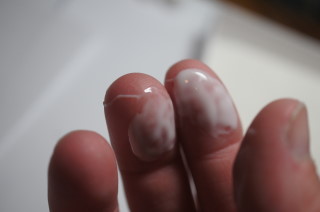
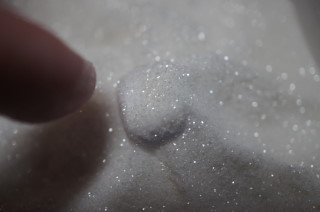
Step 3: Place the ball between your index finger and thumb.

Step 4: With your opposite hand index finger and thumb gently squeeze the front and back of the ball.
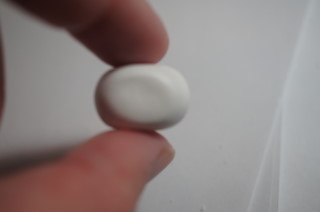
This is how it will look after step 4.
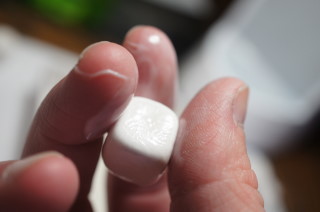
Step 5: Give the ball a quarter turn towards the right, and gently apply pressure to the front and back again.
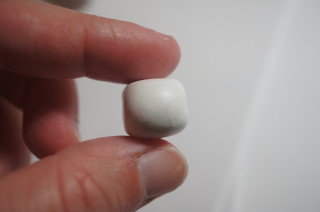
The first picture is right after the turn, the second picture is after you apply gentle pressure again.
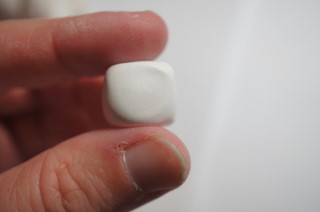
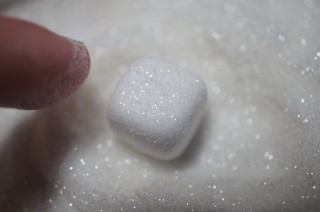
Step 6: Keep turning and rotating the ball, pressing gently to create a square. The more you do this the more straight the edges of the square become.
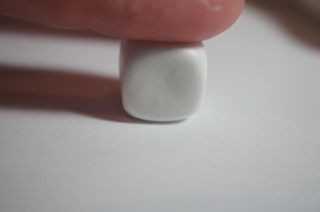
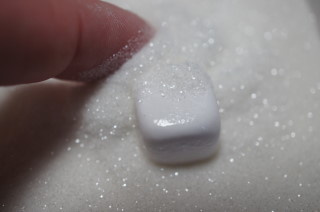
Step 7: (optional) The edges can become straight lines if you place your sugar cube on a flat surface and gently press down again. You will have to rotate it several times to get the flat edge on all sides.
** I personally prefer the edges to be a little rounded so I don’t usually do this step.
Step 8: Stick your index finger in the TLS, and rub your thumb, index and middle fingers (of the same hand) together to get the TLS a little stciky.
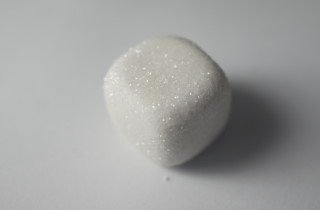
Step 9: Roll the cube around in with your sticky fingers to coat it completely in the TLS, until it feels a bit tacky. Place your sugar cube on the glitter pile.
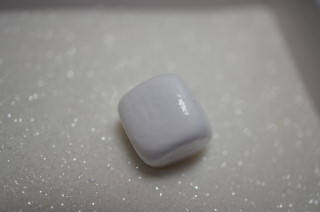
Step 10: Wipe the TLS off your sticky fingers and dry them. Gently use your fingers to sweep more glitter up and onto the sides of the sugar cube. put the. Rotate the sugar cube so all sides are completely coated in glitter.
Step 11: Place a sheet of white paper on your baking sheet, and place your sugar cube on it. Bake according to manufacturer instructions. After it cools glaze it with a satin glaze to protect your sparkly finish.
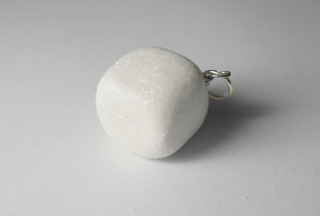
Size measurements
Real sugar cube: 15mm
charm size sugar cube: 14mm
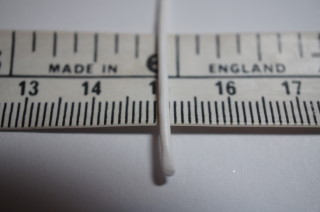
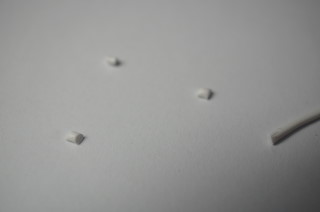
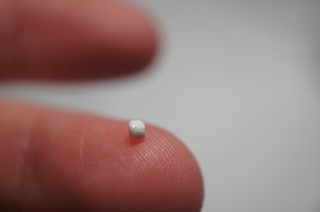
1/12 Scale: 1.25mm
To make them to scale roll out a log a little over 1mm thick. Cut a little over 1mm length piece. Put a little TLS on your fingers and use them to roll it into a ball, drop it into the glitter, and wipe the TLS off your fingers. Very gently press the sides to create a square shape.
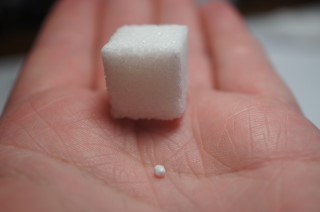
This is a scale sugar cube next to a real sugar cube.
No comments:
Post a Comment