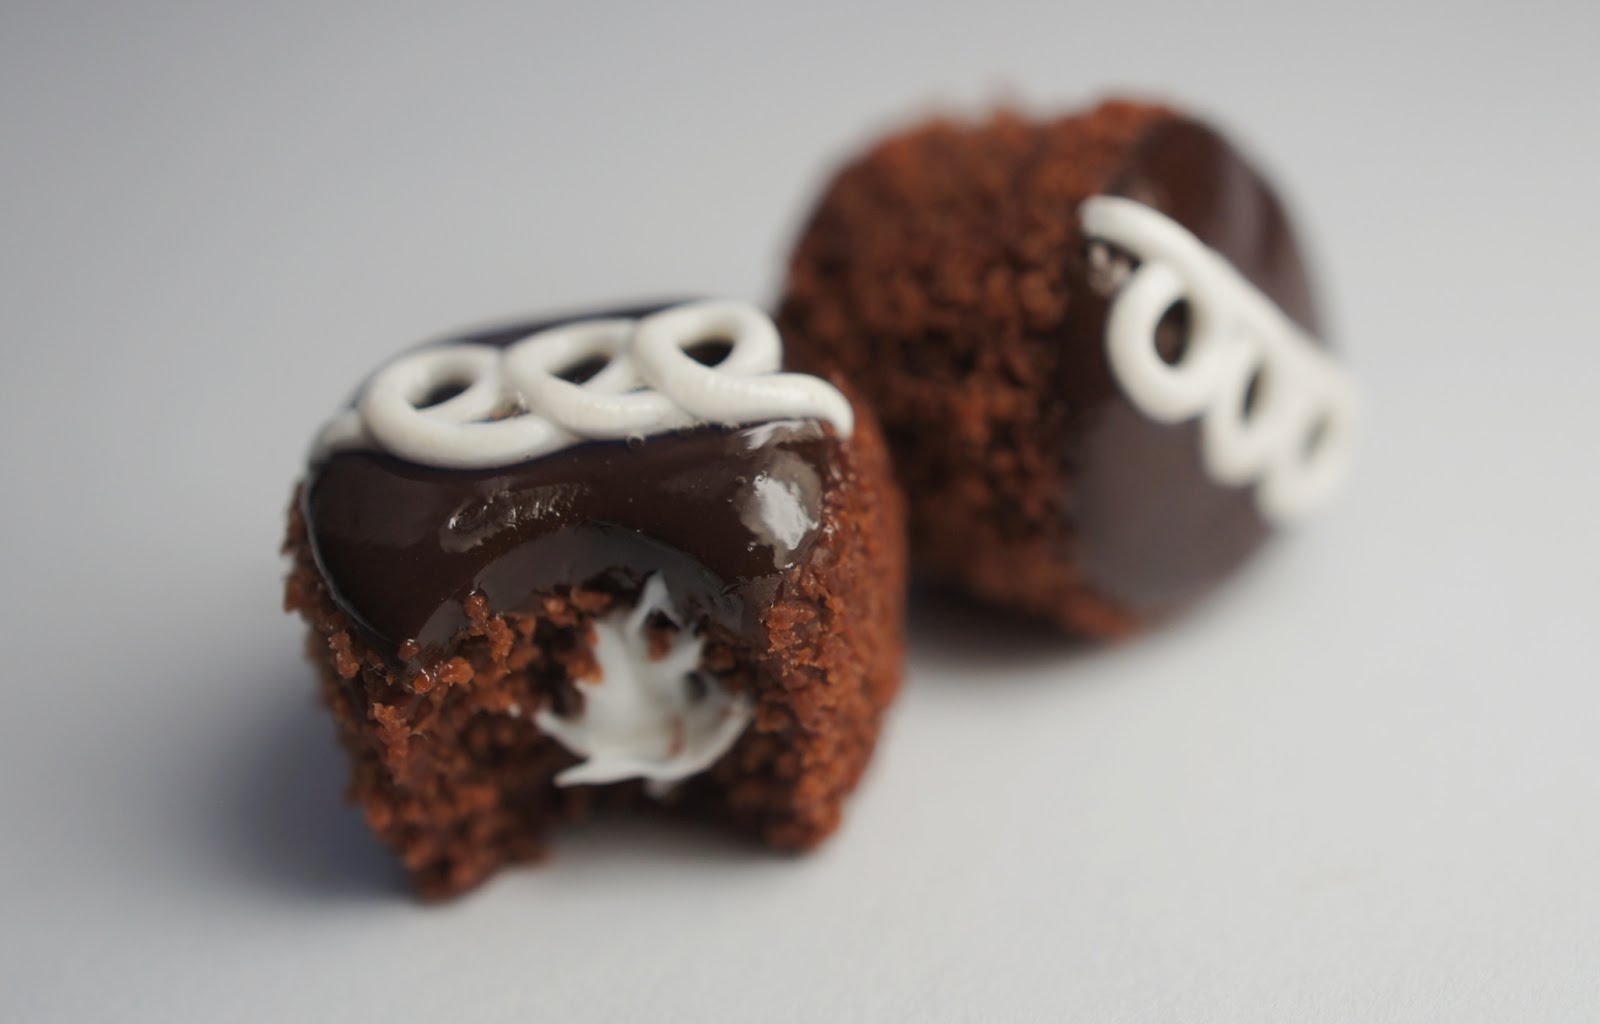
Chocolate Cupcake With Loops
Created by: Heather Wells of Sweet & Savory Trinkets
Materials
1 - 2 oz Package of White Premo
1 - 2 oz Package of Burnt Umber Premo
1 - 2 oz Package of Translucent Premo
1 - 2 oz Package of Suede Brown Sculpey III
1 - Pasta Roller or Clay Roller
1 - Straight Clay Blade
1 - ½ Inch Round Kemper Pattern Cutter (or Round ½” cookie cutter)
1 - Safety Pin or Sewing Pin
1 - Sculpey Gloss Glaze (optional)
A Couple Sheets of Plain White Paper
A Baking Sheet
For cupcakes with a bite Taken out
1 - Heart Shaped Kemper Pattern Cutter
1 - Bottle of Translucent Liquid Sculpey (TLS)
1 - Small Paint Brush

Directions:
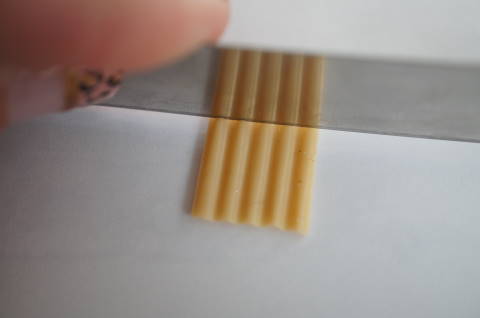
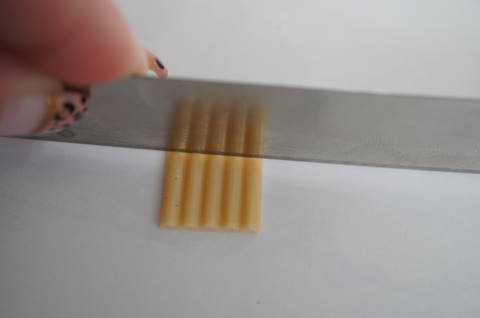
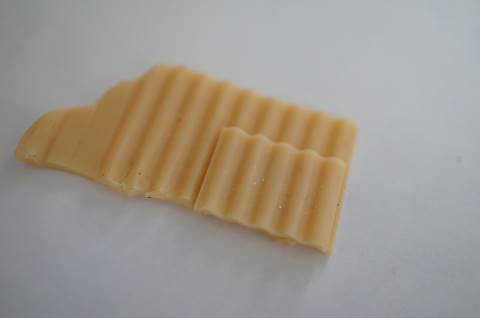
Step 1: Condition a small amount of white clay, roll out a snake 2mm thick . Lay the snake out straight as possible on your baking sheet (on a sheet of the white paper). Bake it according to manufacturers instructions and let it cool.


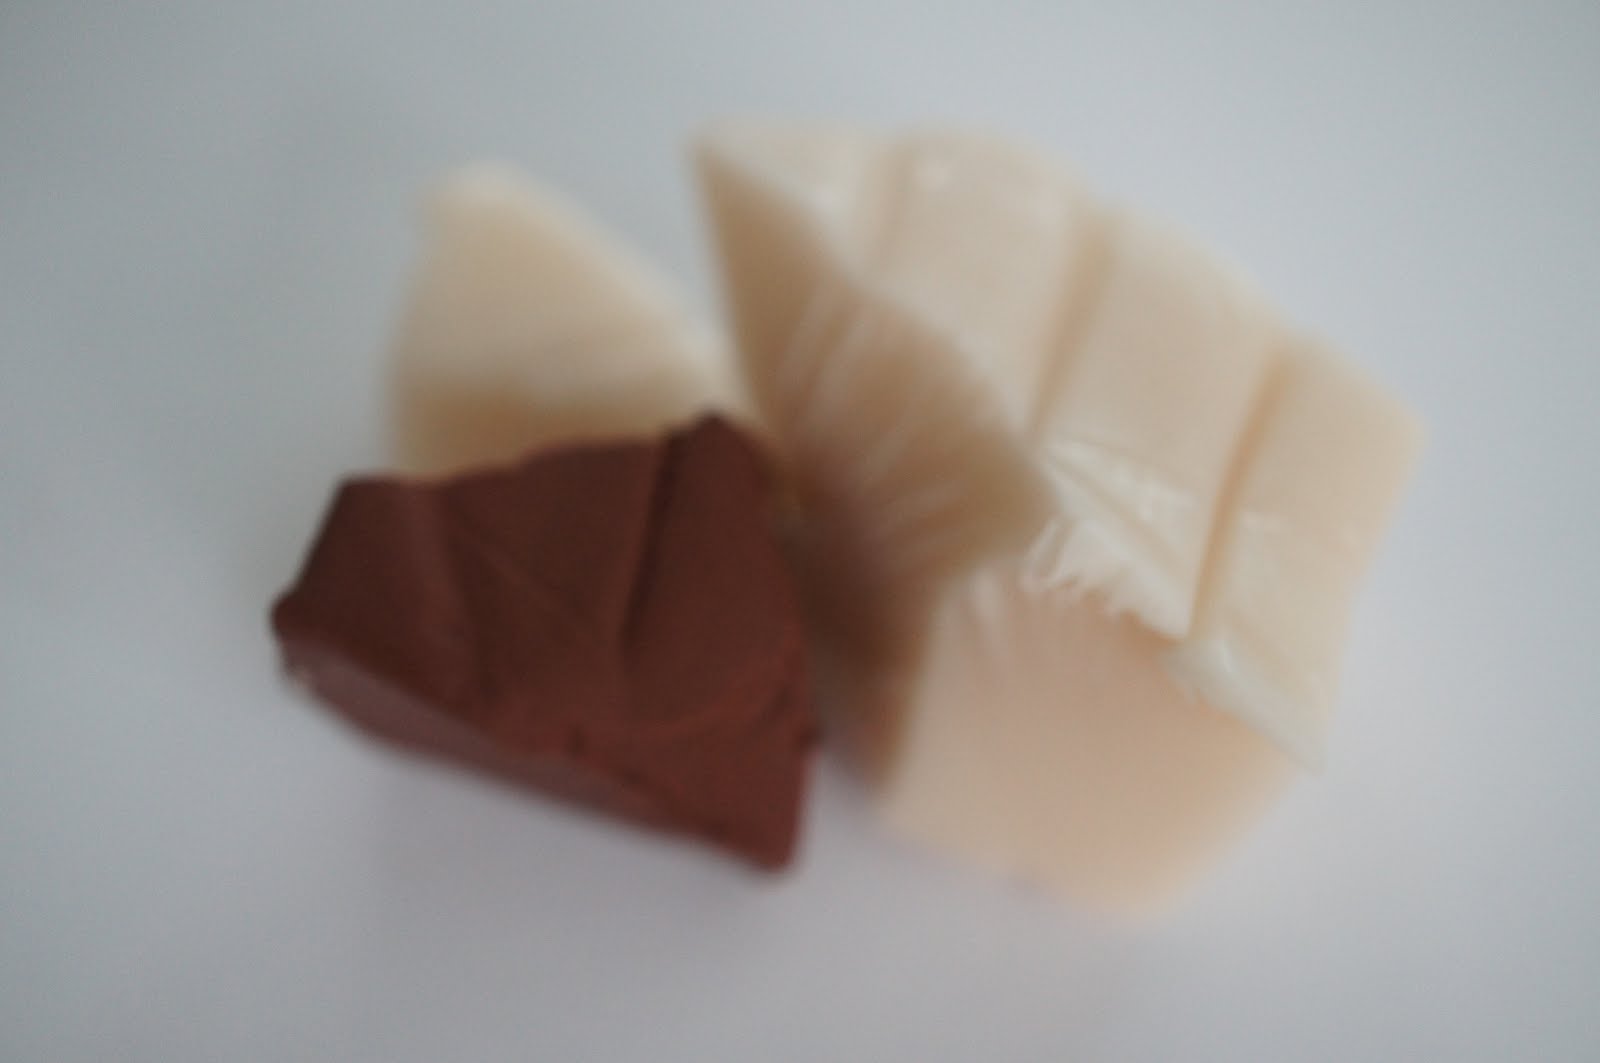
Step 1: Mix ⅓ of a rectangle of the burnt umber, and ⅔ of a rectangle Translucent until thoroughly combined, and conditioned.
Step 2: Make a ball of the chocolate cake mix clay 14mm across.

Step 3: Start rolling the ball with your fingers into a cupcake shape with a flat top. The easiest way to do this is by holding the ball between the index finger and thumb of your left hand in a vertical position, and twisting the ball with the index finger and thumb of your right hand. Your right thumb is closest to you moving the ball towards the left, and the index finger of your right hand is moving towards the right. Think of how you move your fingers in the “give me money” gesture. It is pretty much the same.


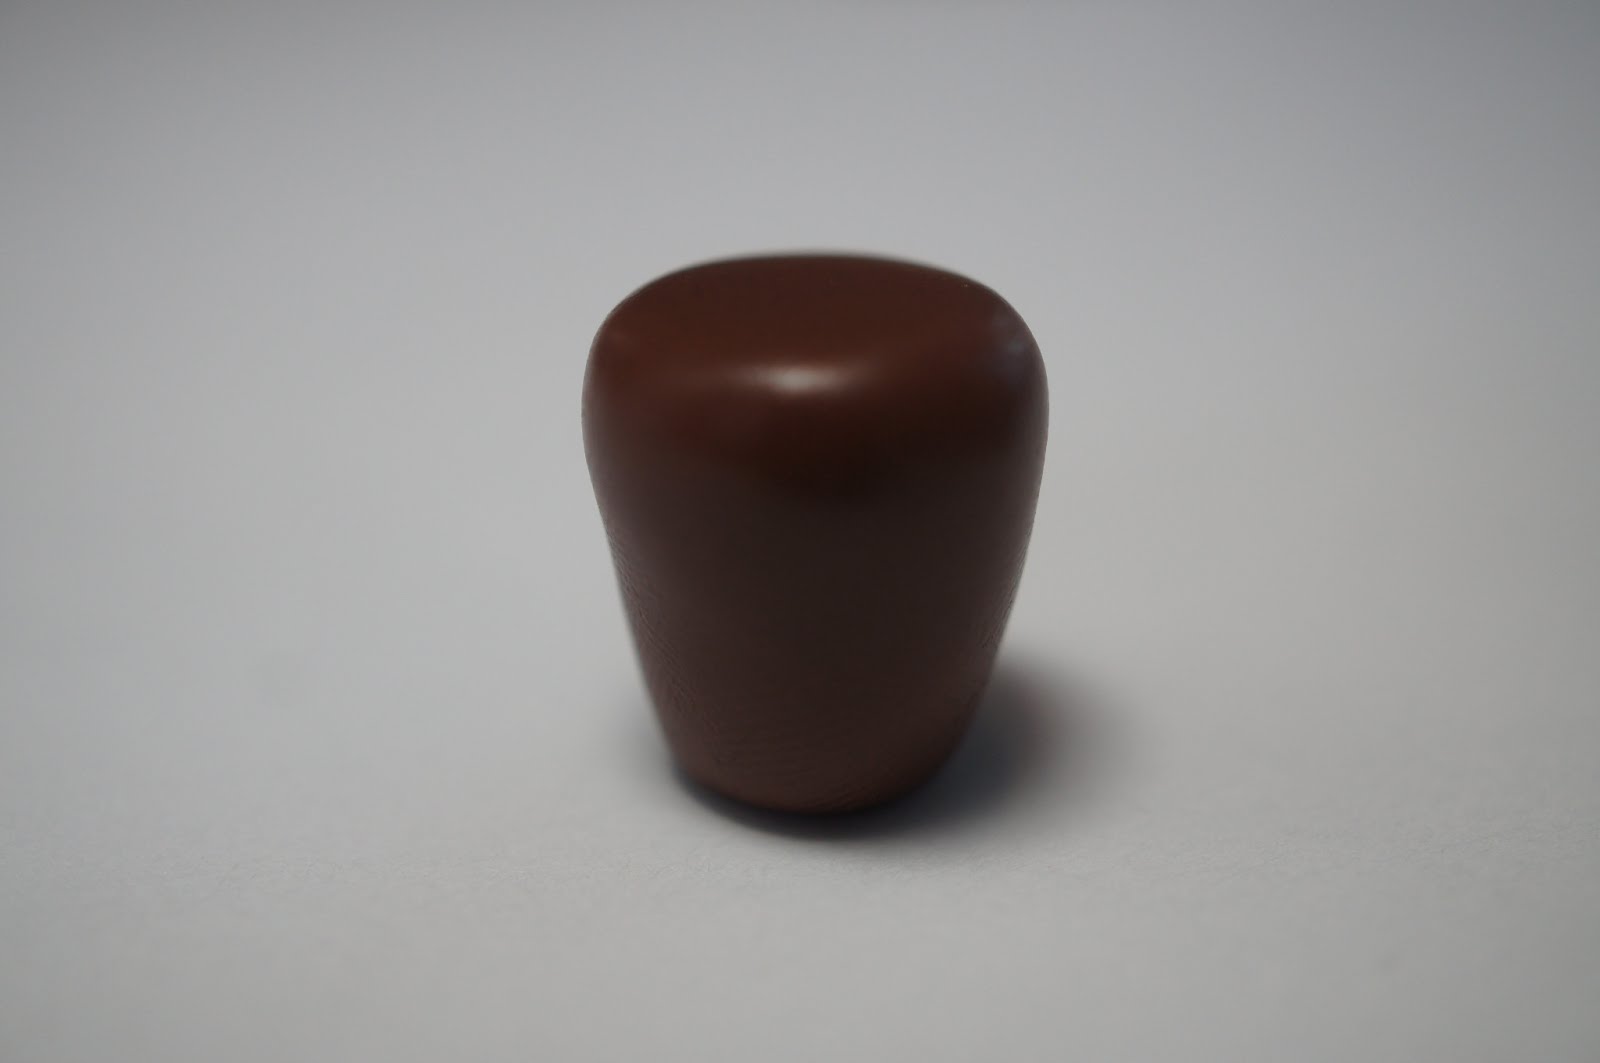
This forms the cylindrical shape while keeping the top and bottom flattened.
Step 4: Roll the cupcake shape a few times at the bottom of the cupcake to make it a little smaller on the bottom.

Step 5: Place the cupcake bottom side down on a sheet of plain white paper. Press down ever so slightly on the top of the cupcake to finish shaping the cupcake. Put the cup it aside, and let them rest.

Chocolate Icing Mix:
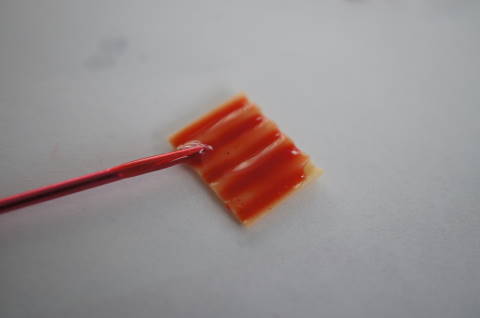
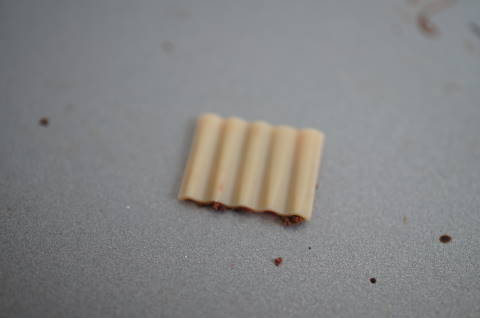
Step 1: Mix ¼ of a rectangle Hazelnut Sculpey III, and ¼ of a rectangle Burnt Umber Premo. Roll it out flat with your clay roller, or pasta roller to about 1mm thick.
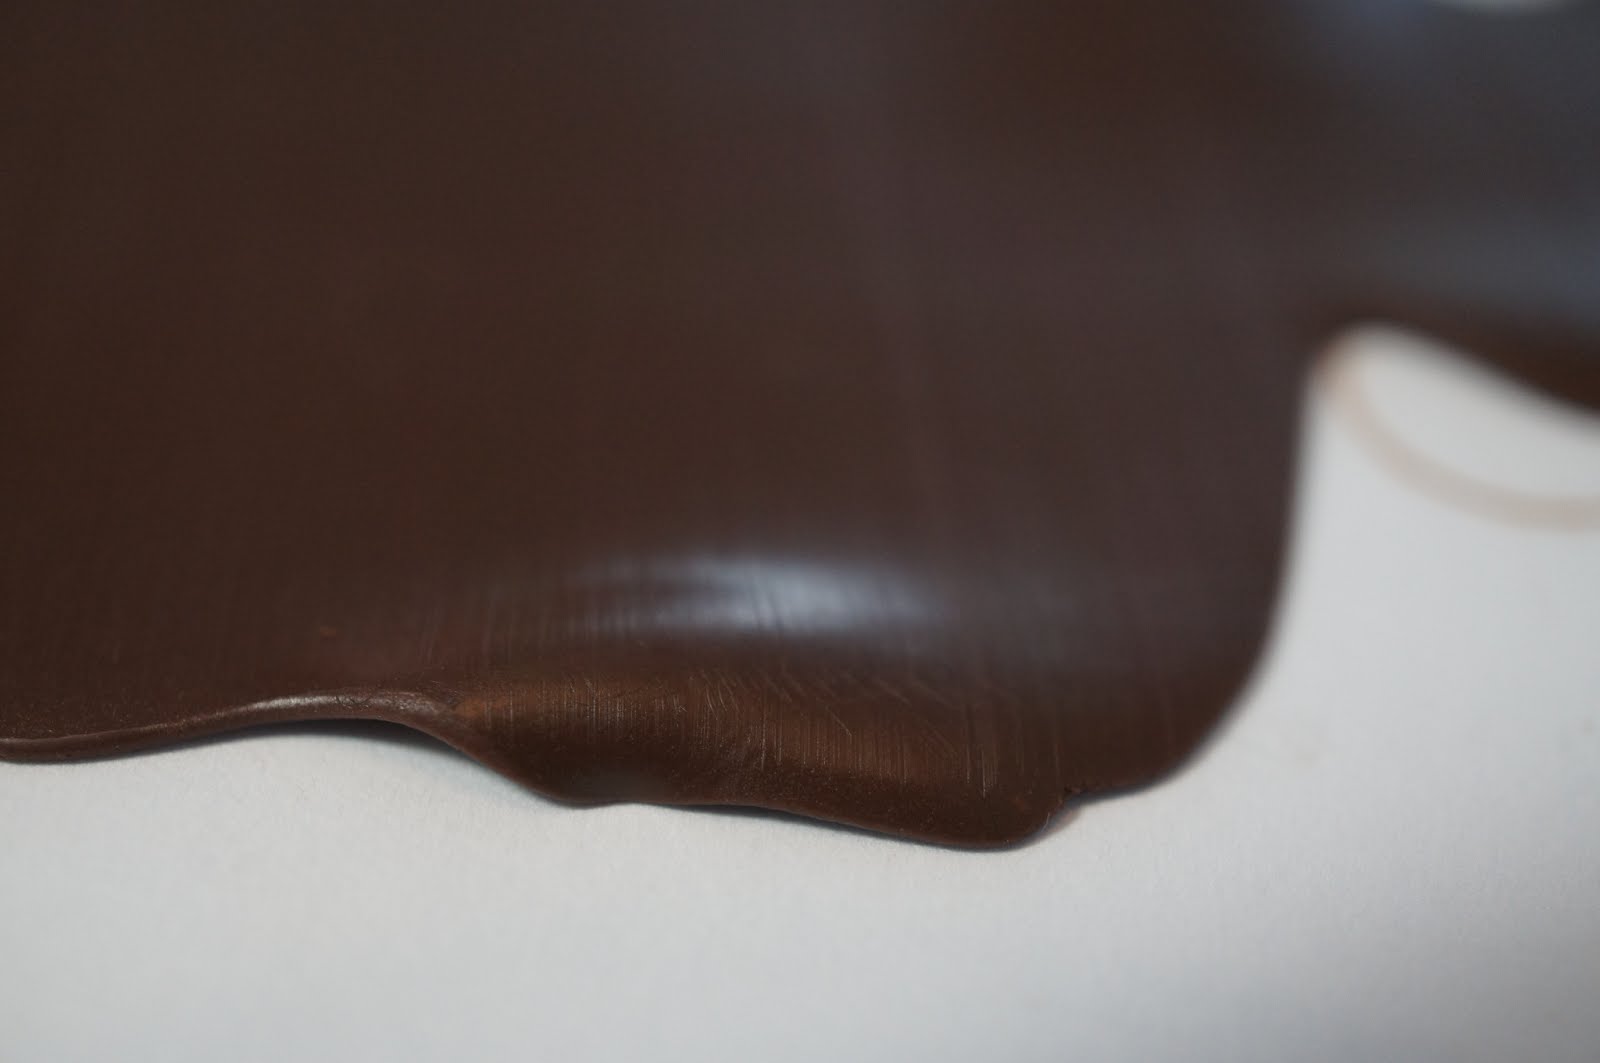
Step 2: Using the ½” round cutter, cut out a circle and center it on top of the cupcake and smooth the edges in a downward motion smoothing it onto the cupcake. Set the cupcake aside to rest.


White Icing:
Step 1: Condition some white clay, and roll it into a log 1 ½ mm thick.

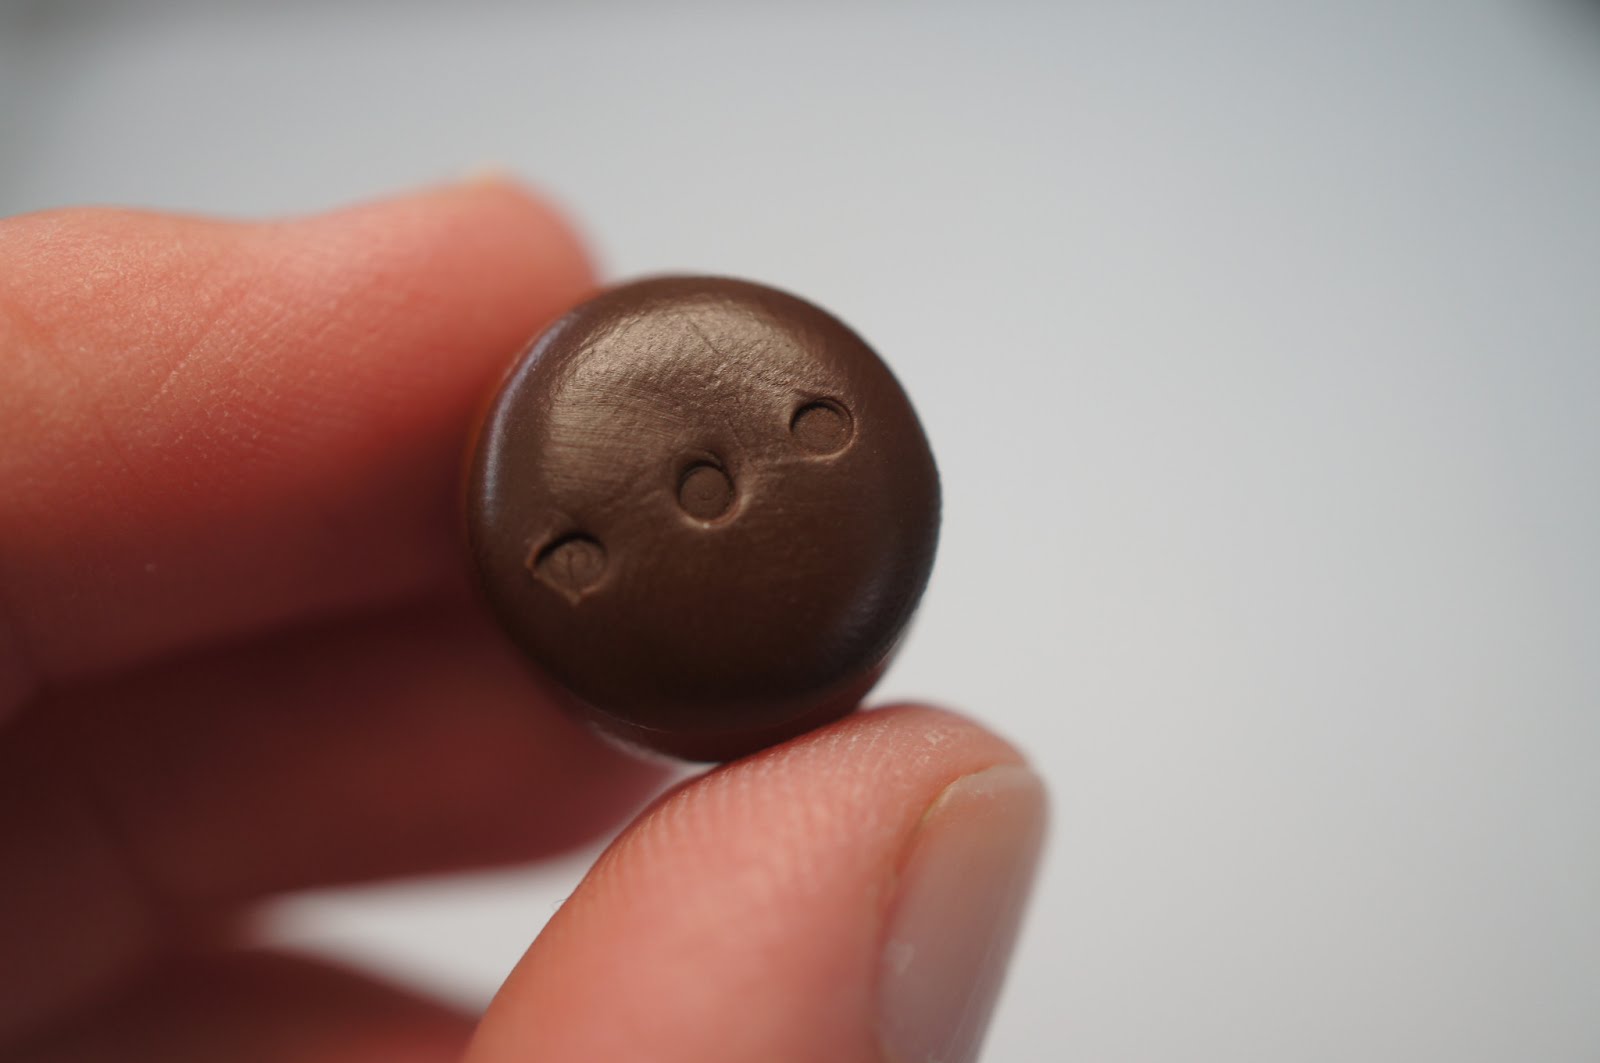
Step 2: Using the small white snake cut earlier, find the center of the top of the cupcake and press slightly to leave a slight indent.
Step 3: Make a small indent of the left and right side of the center ident on the cupcake. Try to center them as much as you can between the center indent and edge of the cupcake. You will use these indents to help you place the loops.

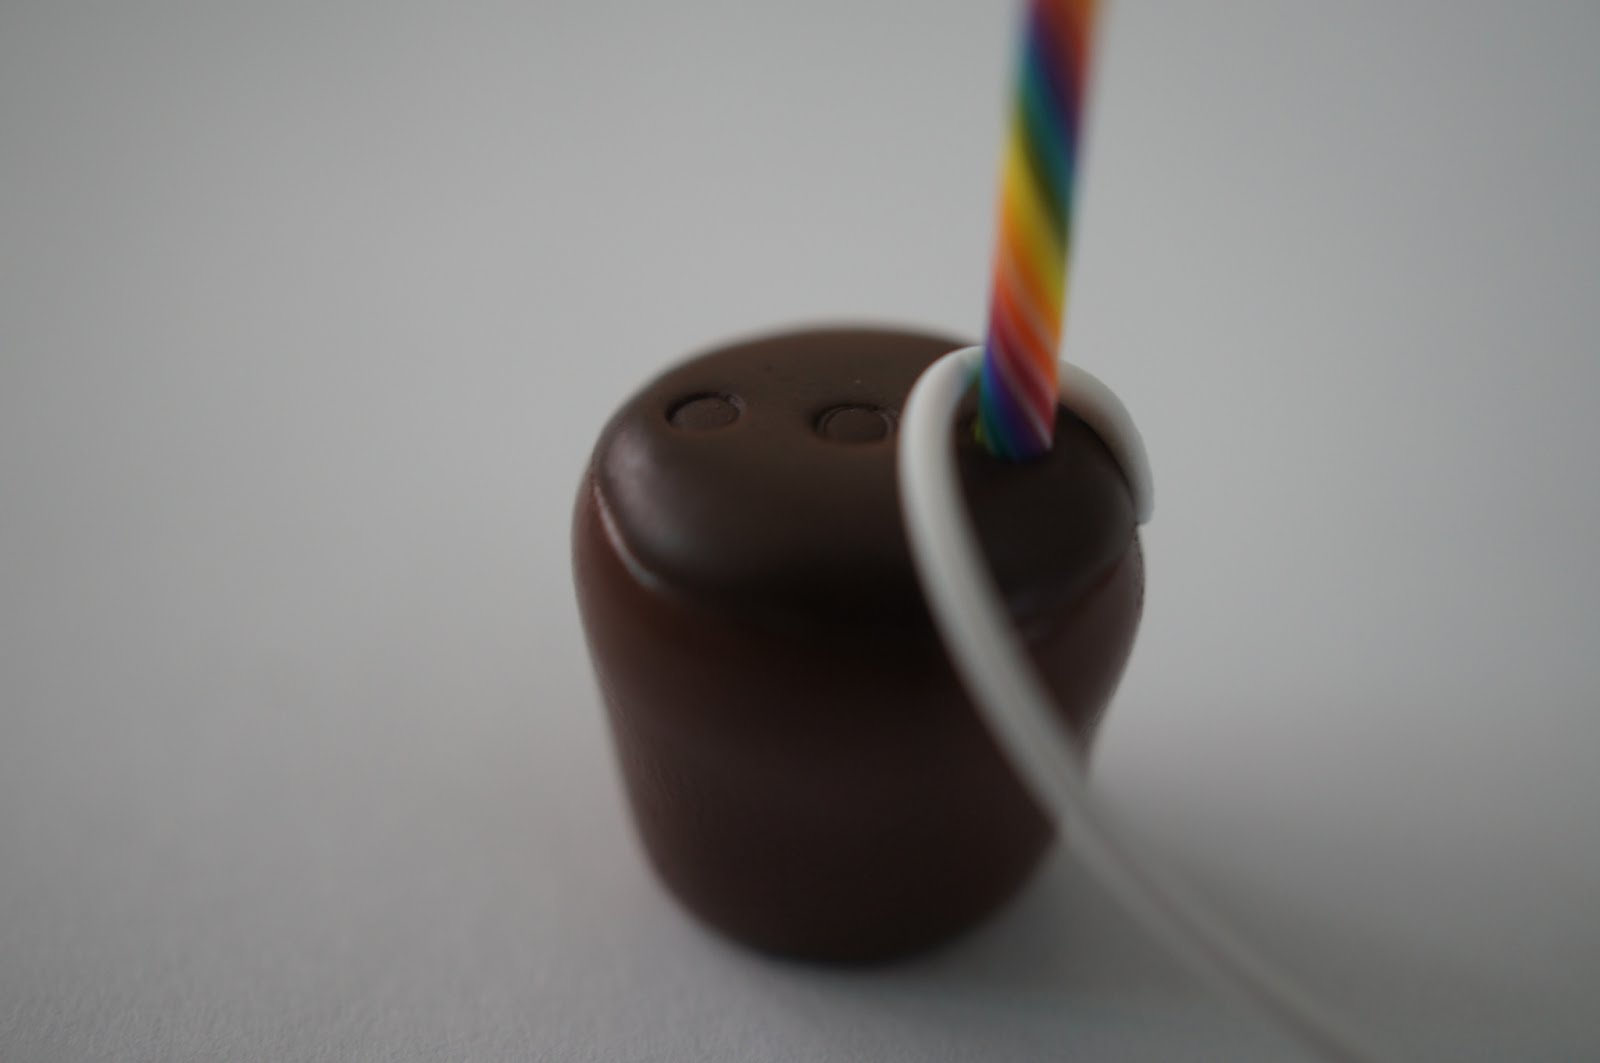
Step 4: Cut a length of your newly conditioned 1½ mm snake about 2 ½ inches long. Place your cured log upright in the first indent on the right.
I am using a rainbow colored one, so you can differentiate between the cured snake, and the loop snake.
Step 5: Smooth the end of the 2½” snake onto the edge of your cupcake right above the upright cured snake. Very gently wrap the snake counter clockwise around the upright cured snake. Press the wrapped snake very gently down onto the cupcake, and twist the upright cured snake gently while pulling it up and away from the cupcake.
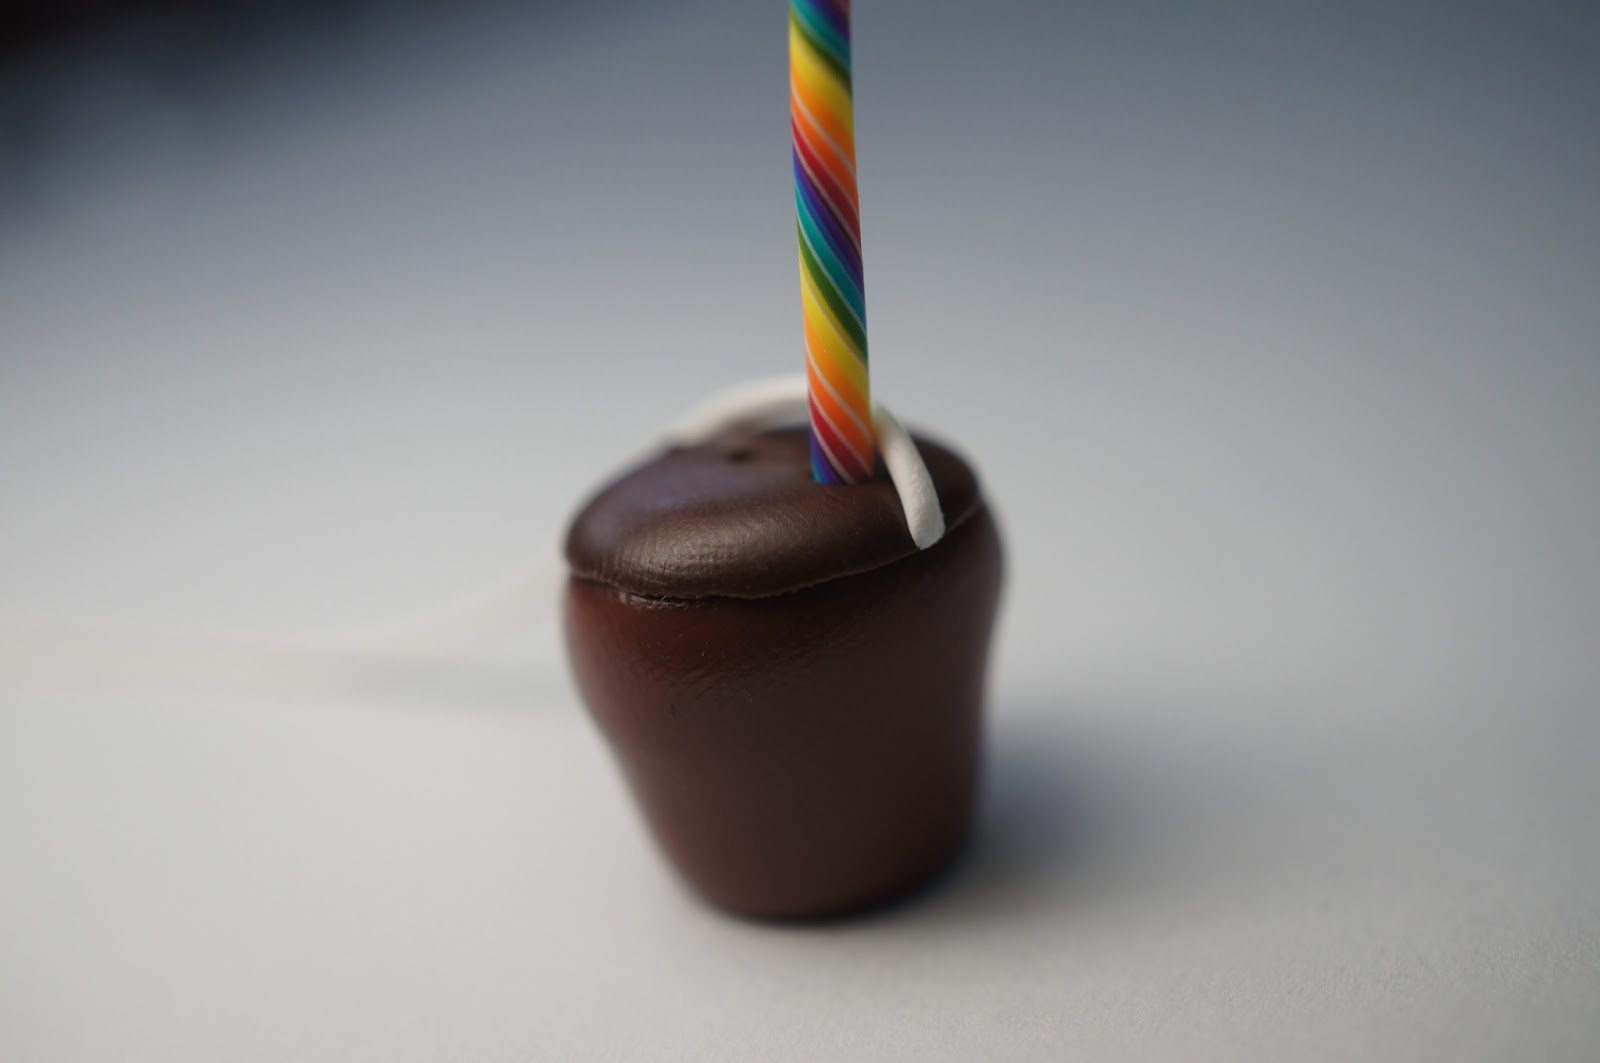

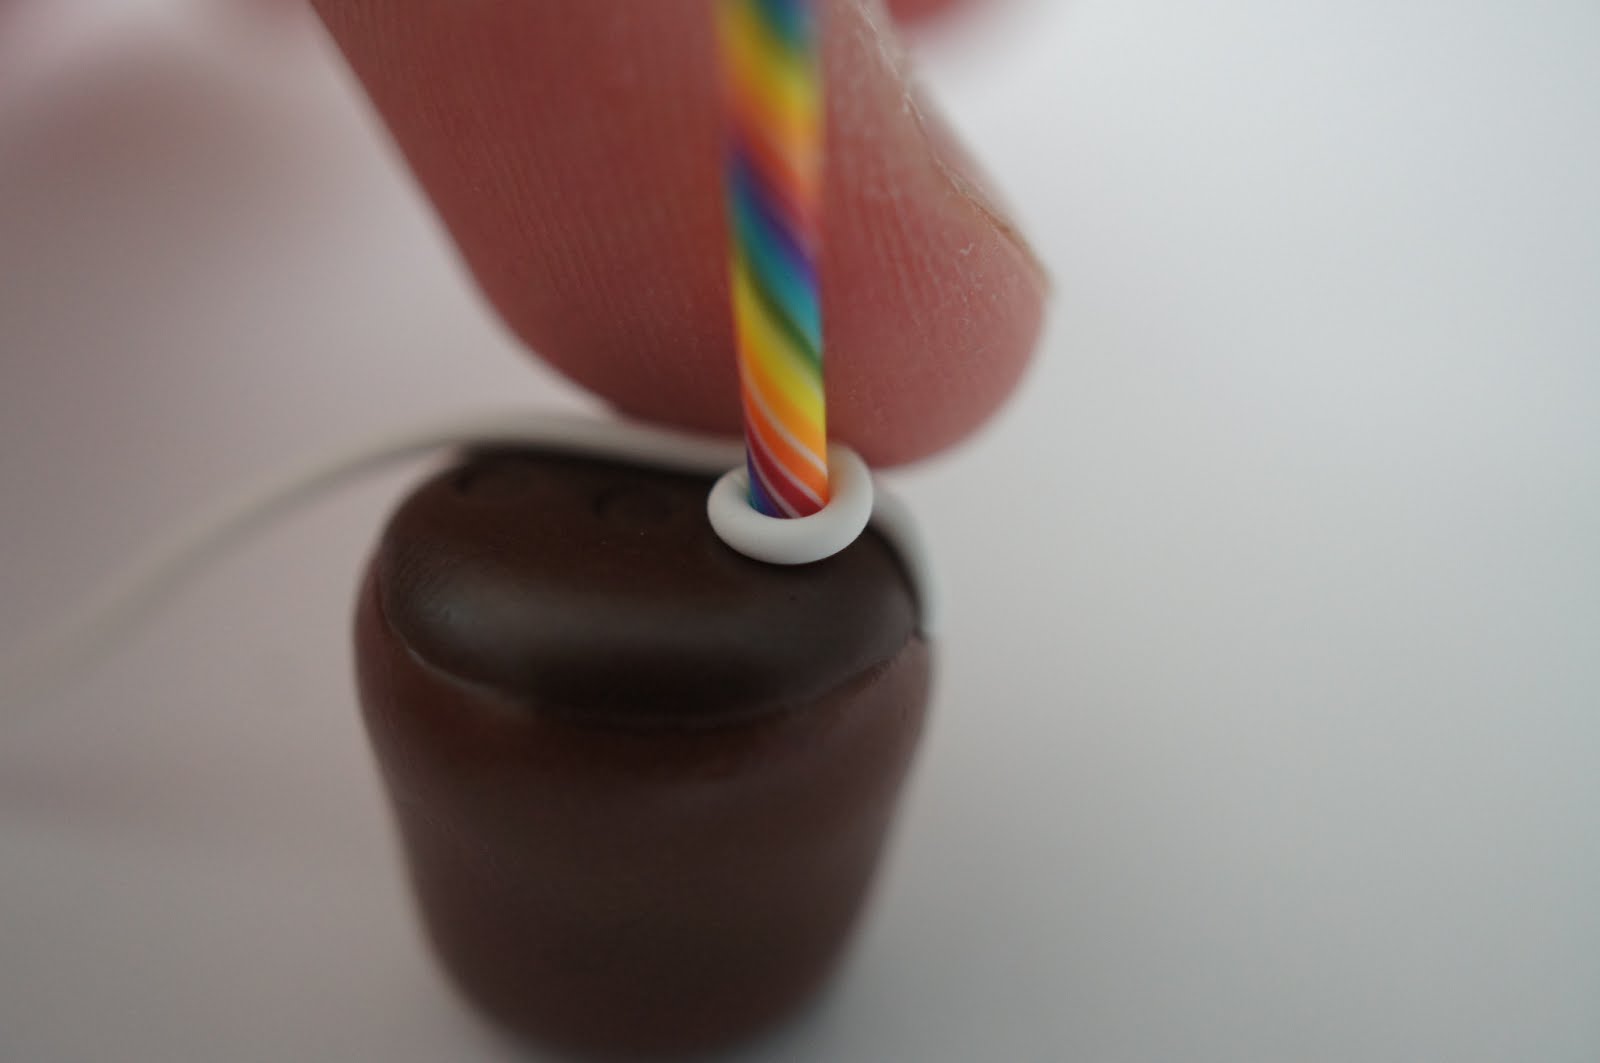
Step 6: Place the cured snake upright into the the center indent. Wrap the conditioned snake around the upright snake counter clockwise gently. Push down on the edges of the new loop ever so slightly, then twist the cured snake gently while removing it from the cupcake.
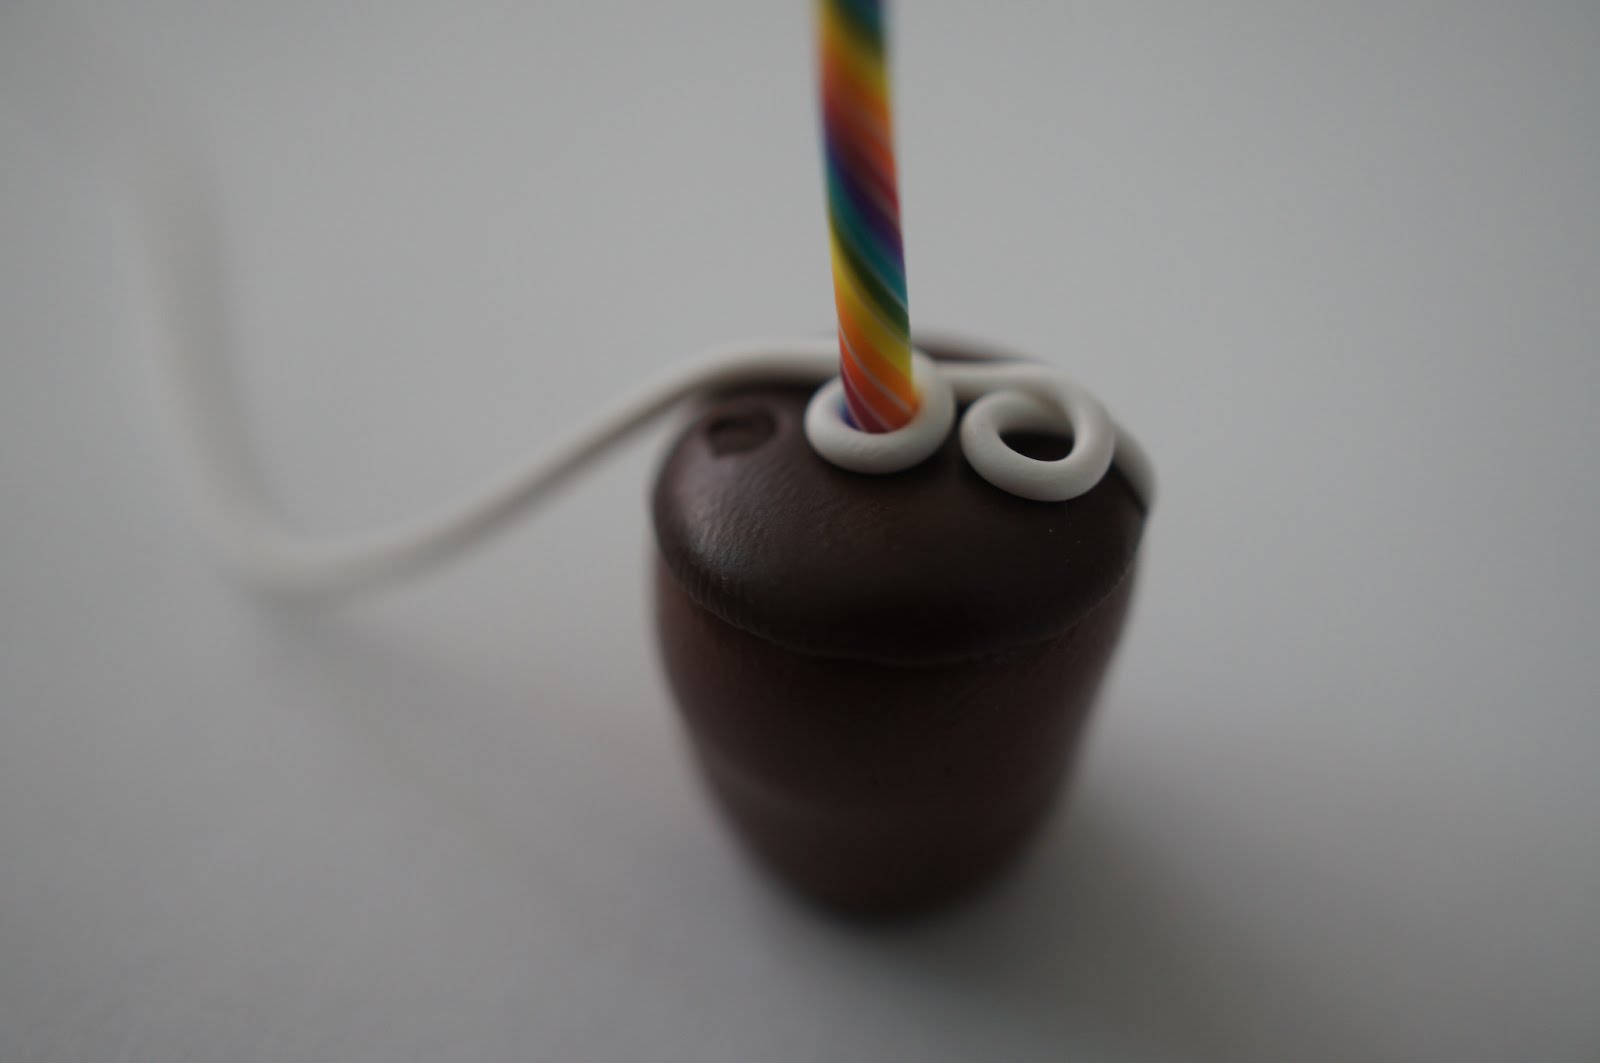
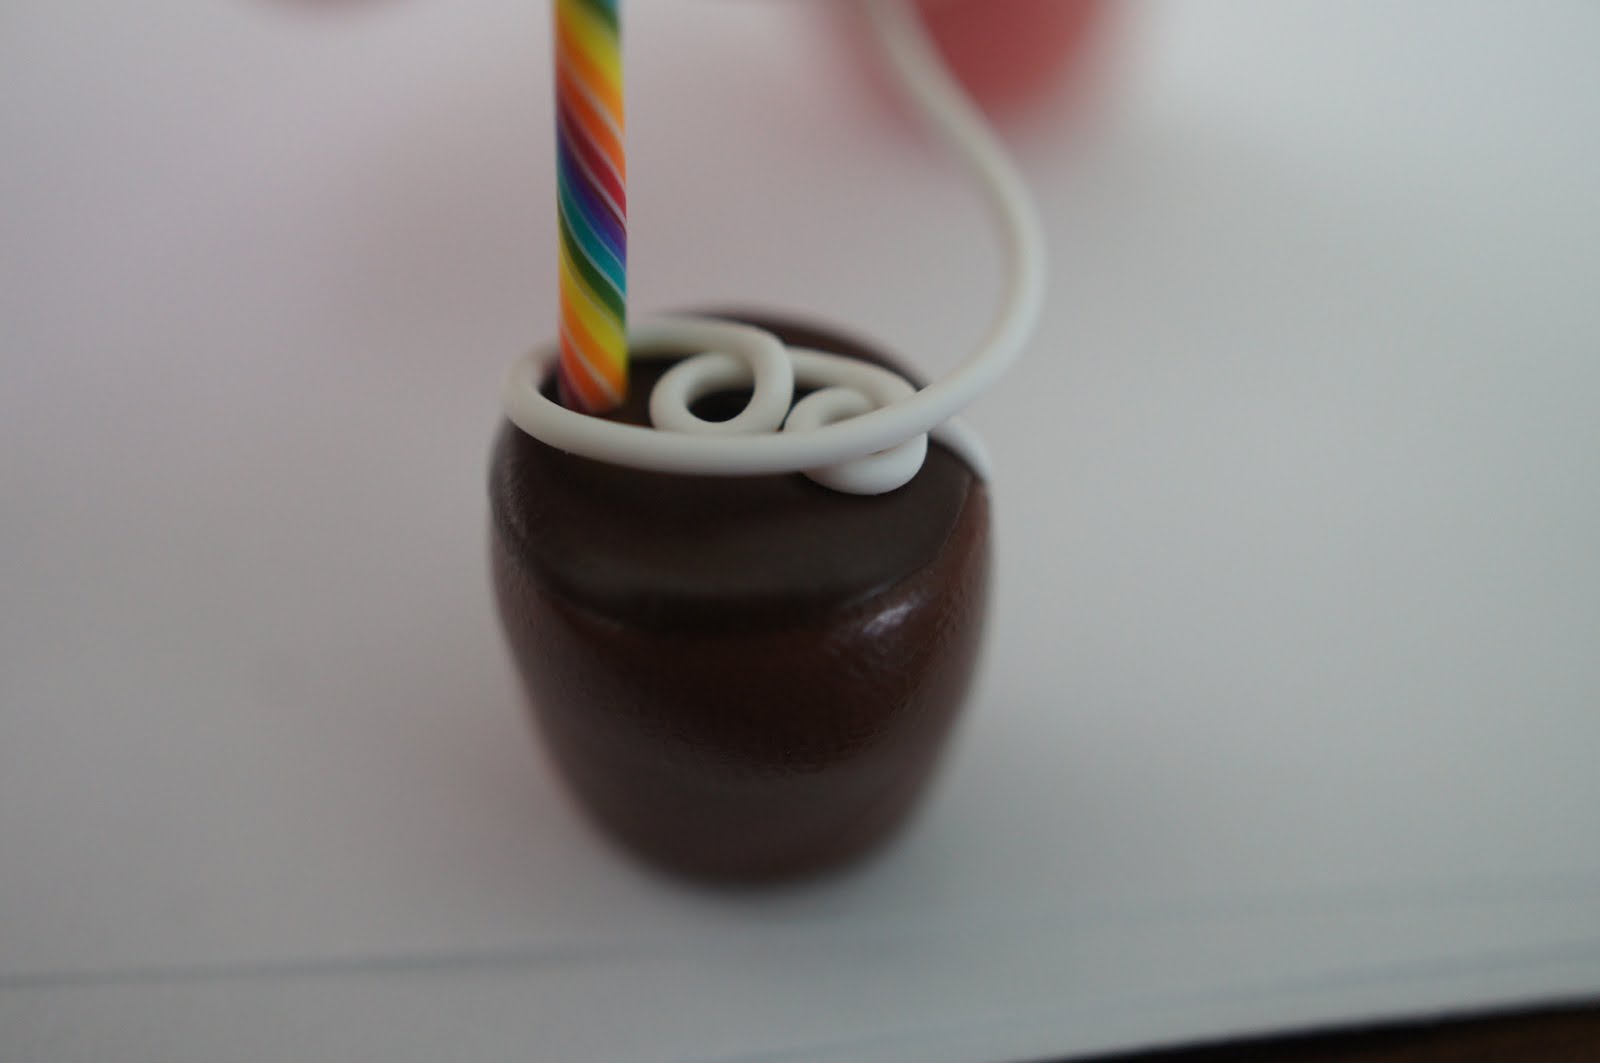
Step 7: Place the cured snake upright in the indent on the far left, and repeat the last wrap like the first two loops. Gently remove the cured snake. Press very gently on the top of the cup cake just to help the white loop stick to the top of the cupcake. Cut the excess clay away from the edge of the cupcake.

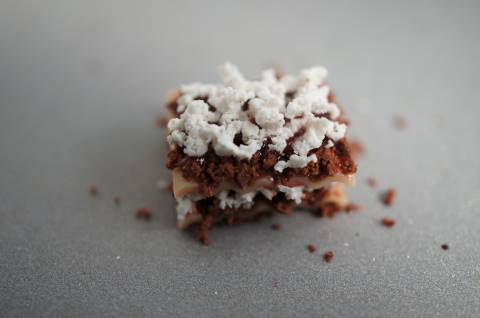
Texturing the Cupcake:
Step 1: Let your cupcake rest two hours, if you end up with a squashed cupcake.. it is because it didn’t rest enough. If your clay is really soft you may want to wait several hours.
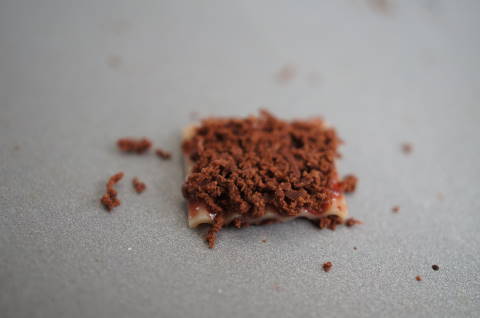
Step 2: Using your safety pin make tiny circles in the clay of the bottom of the cupcake to make the cake texture. This part will get slightly squashed on the bottom as it sits and bakes, but it looks more realistic this way any way.

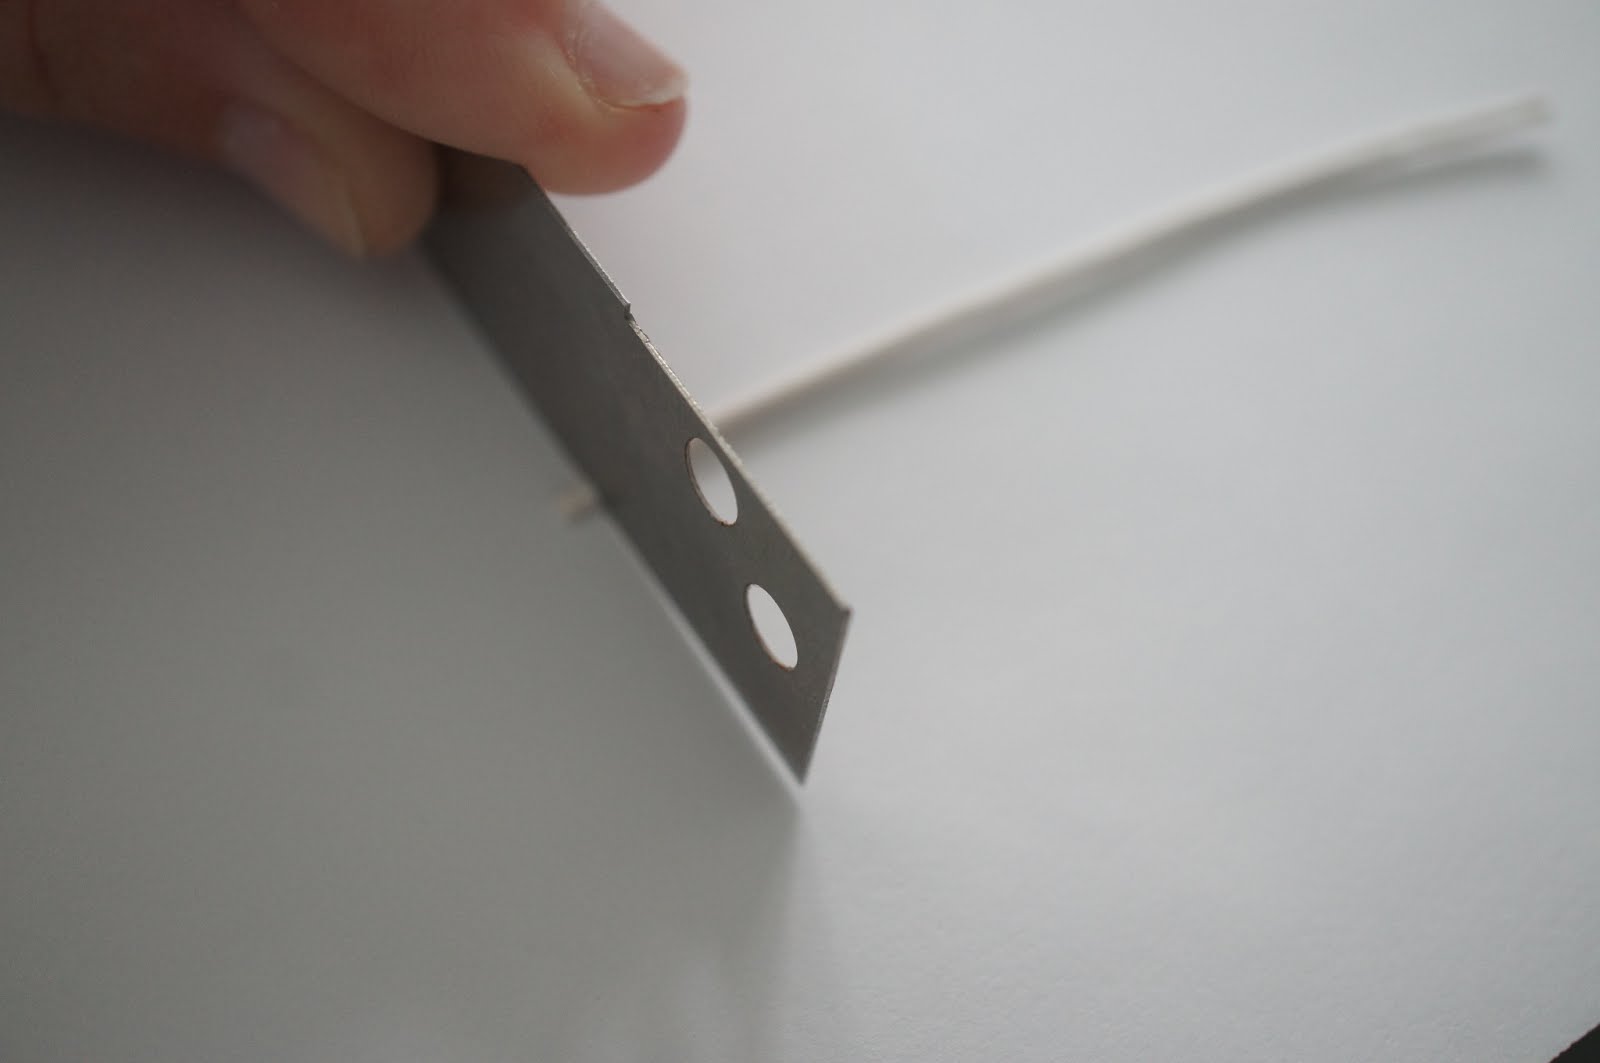
Step 3: Holding your cupcake very gently, Make tiny circles in the sides of the cupcake. You are doing it right if tiny bits of clay resembling crumbs are coming off the cupcake onto the tip of your safety pin. As you rotate the cupcake to texture it all the way around, the parts you textured already may get slightly compressed, this adds to the realism. If you look at the side of a cupcake it isn’t as airy as the center. If the sides get more compressed than you like, you can retexture as it while it is sitting on a sheet of paper. ** To see my hand position while holding the cupcake for texturing see the trouble shooting note at the end of the tutorial.

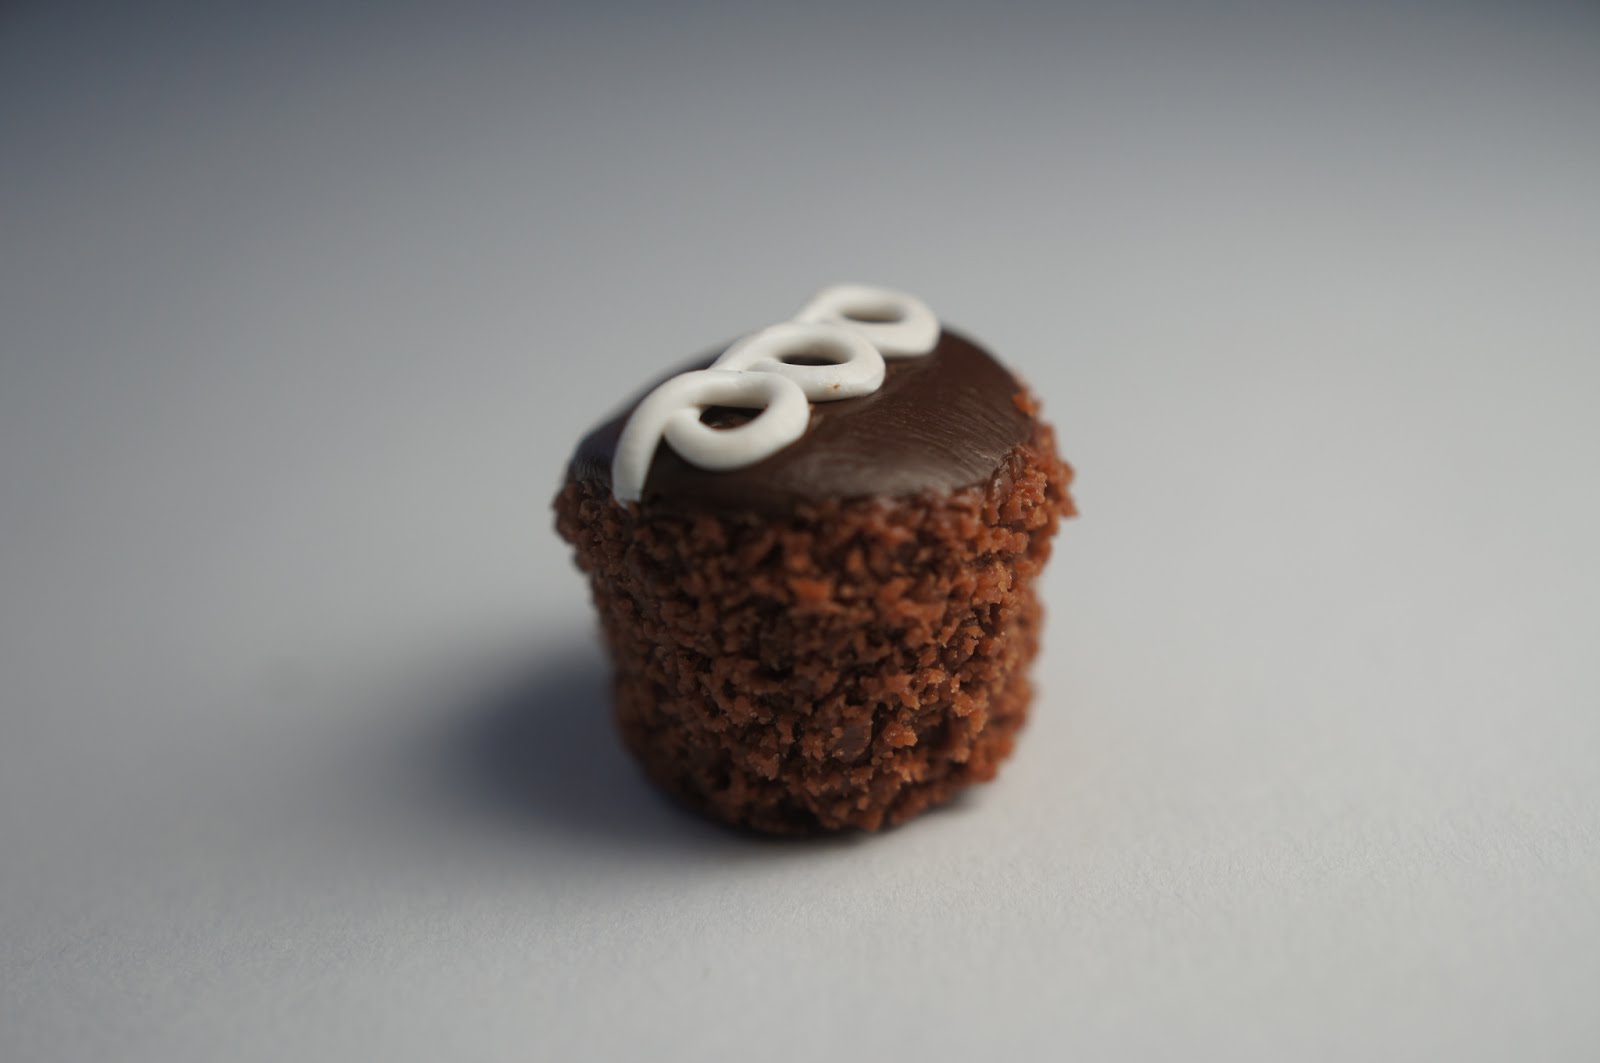
If you are making a full cupcake, you are finished. Bake it according to manufacturer instructions.
With a Bite Removed
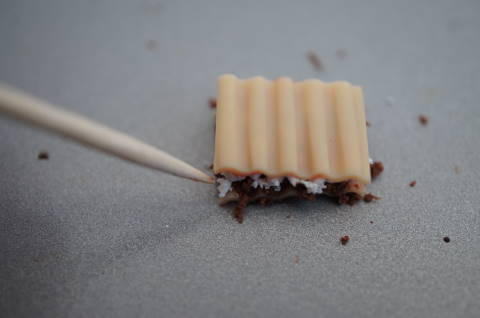
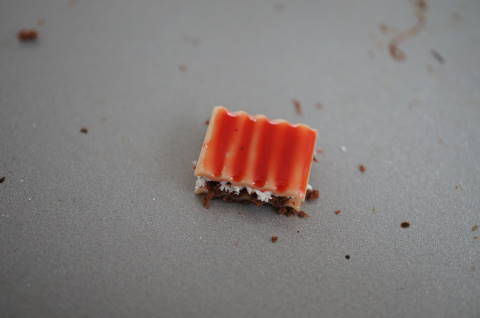
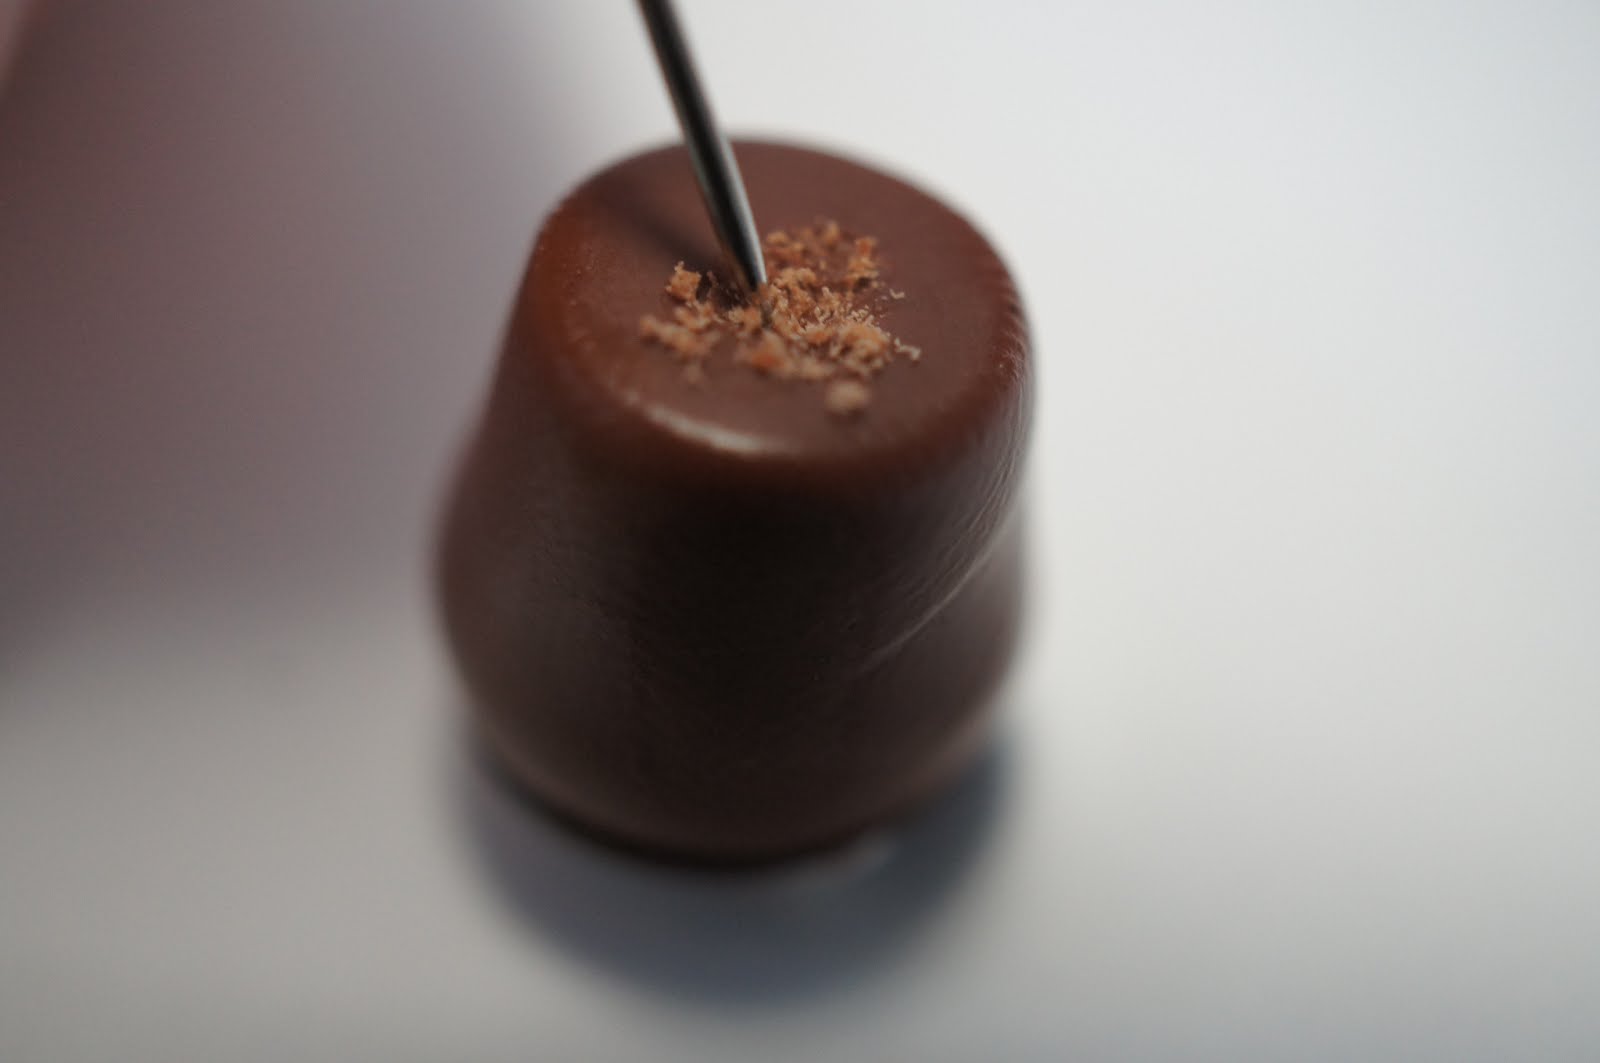
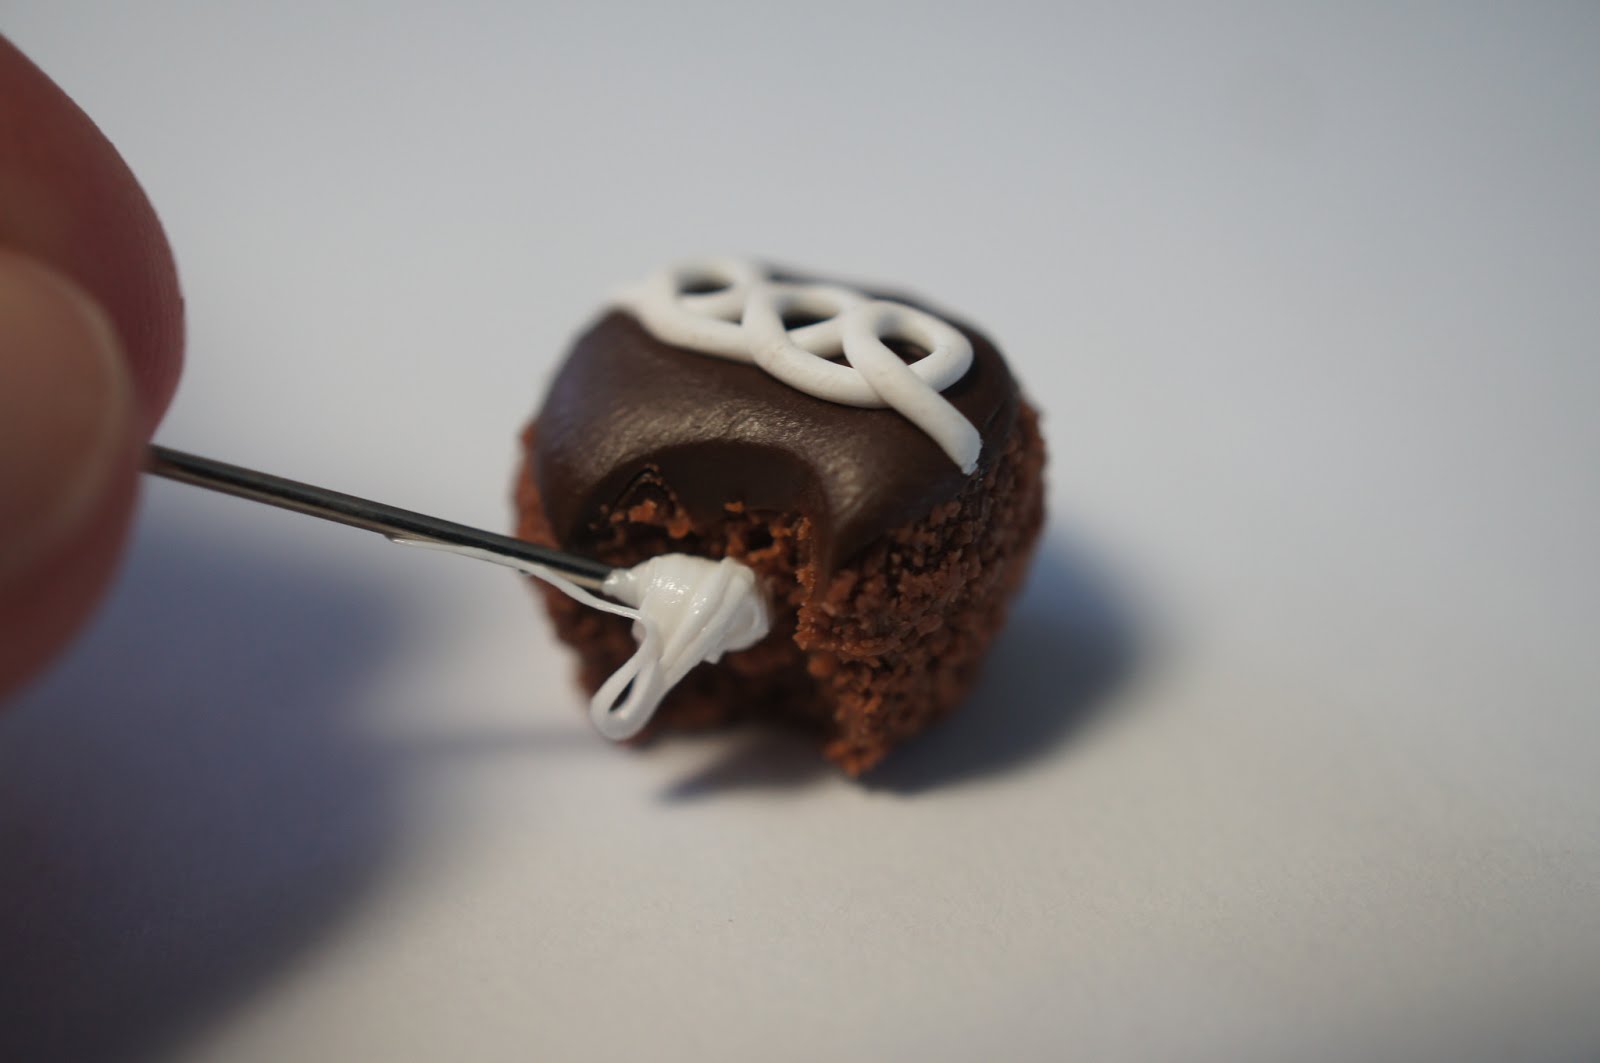
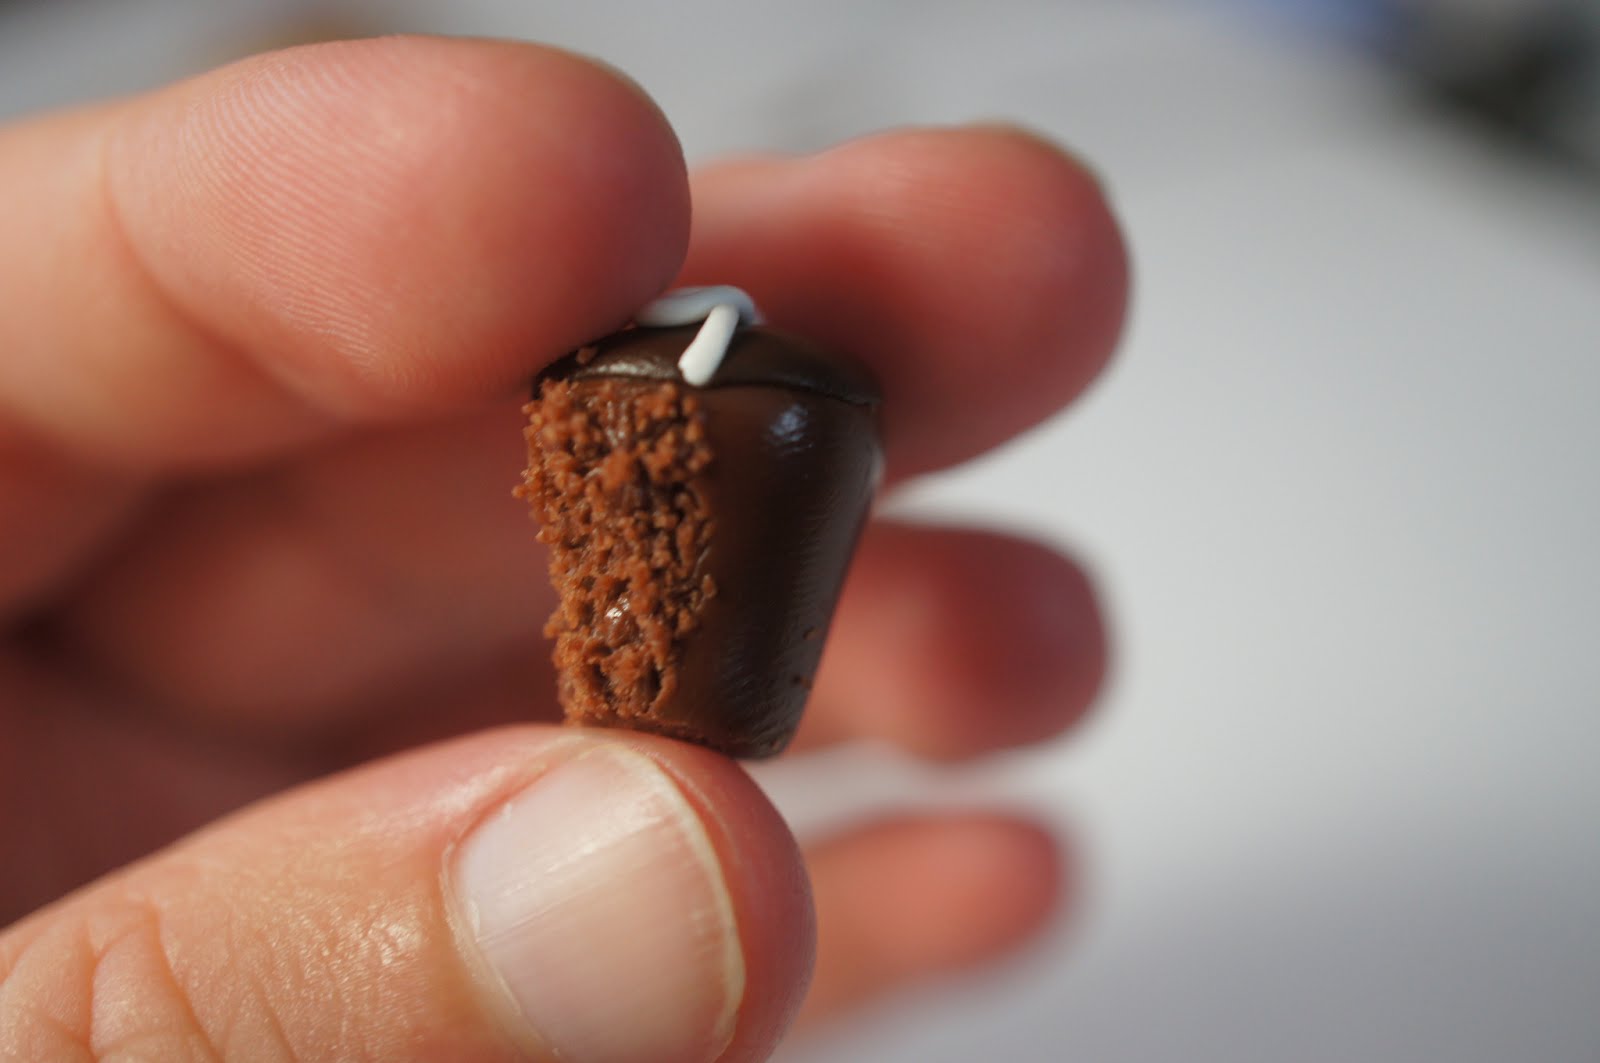
Step 1: Using the pointy end of your heart shaped pattern cutter, place the cutter over the cupcake edge slightly and push down. Remove the cutter from the cupcake. This is the bitten area.

Step 2: Texture the bitten area of the cupcake the same way you textured the sides.

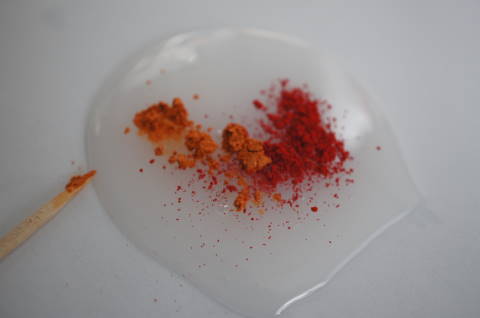
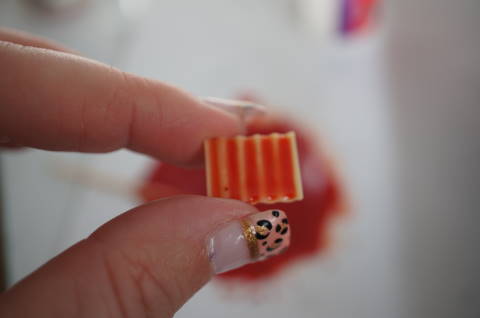
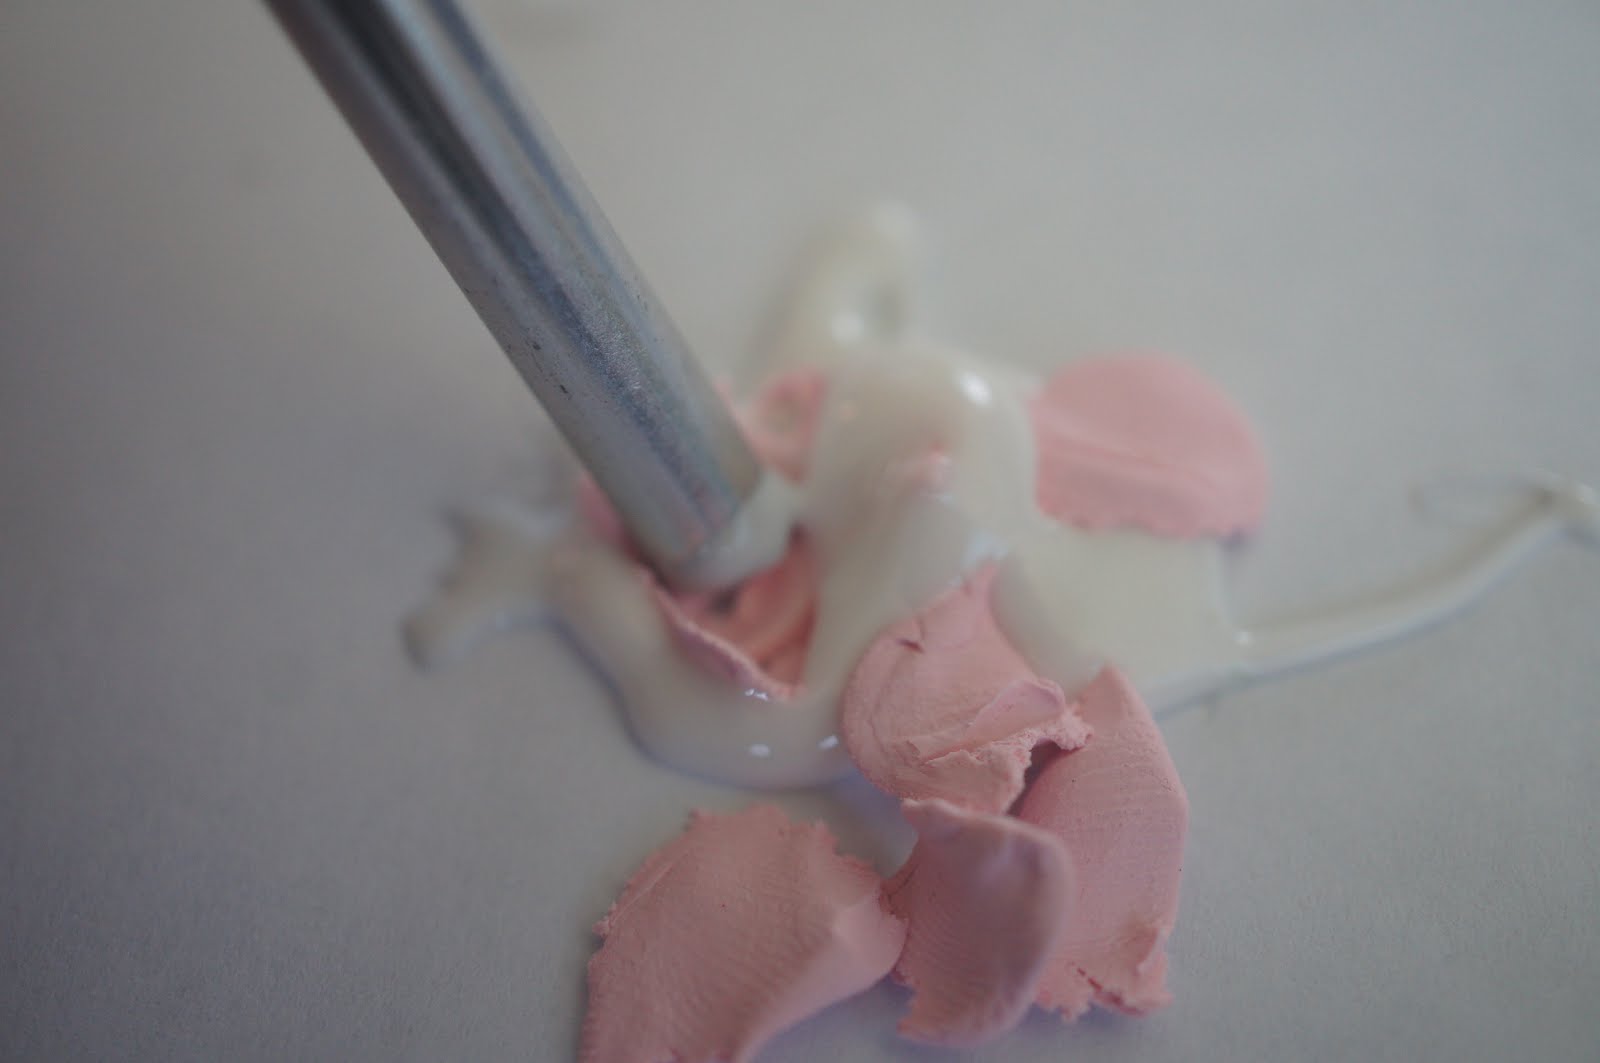
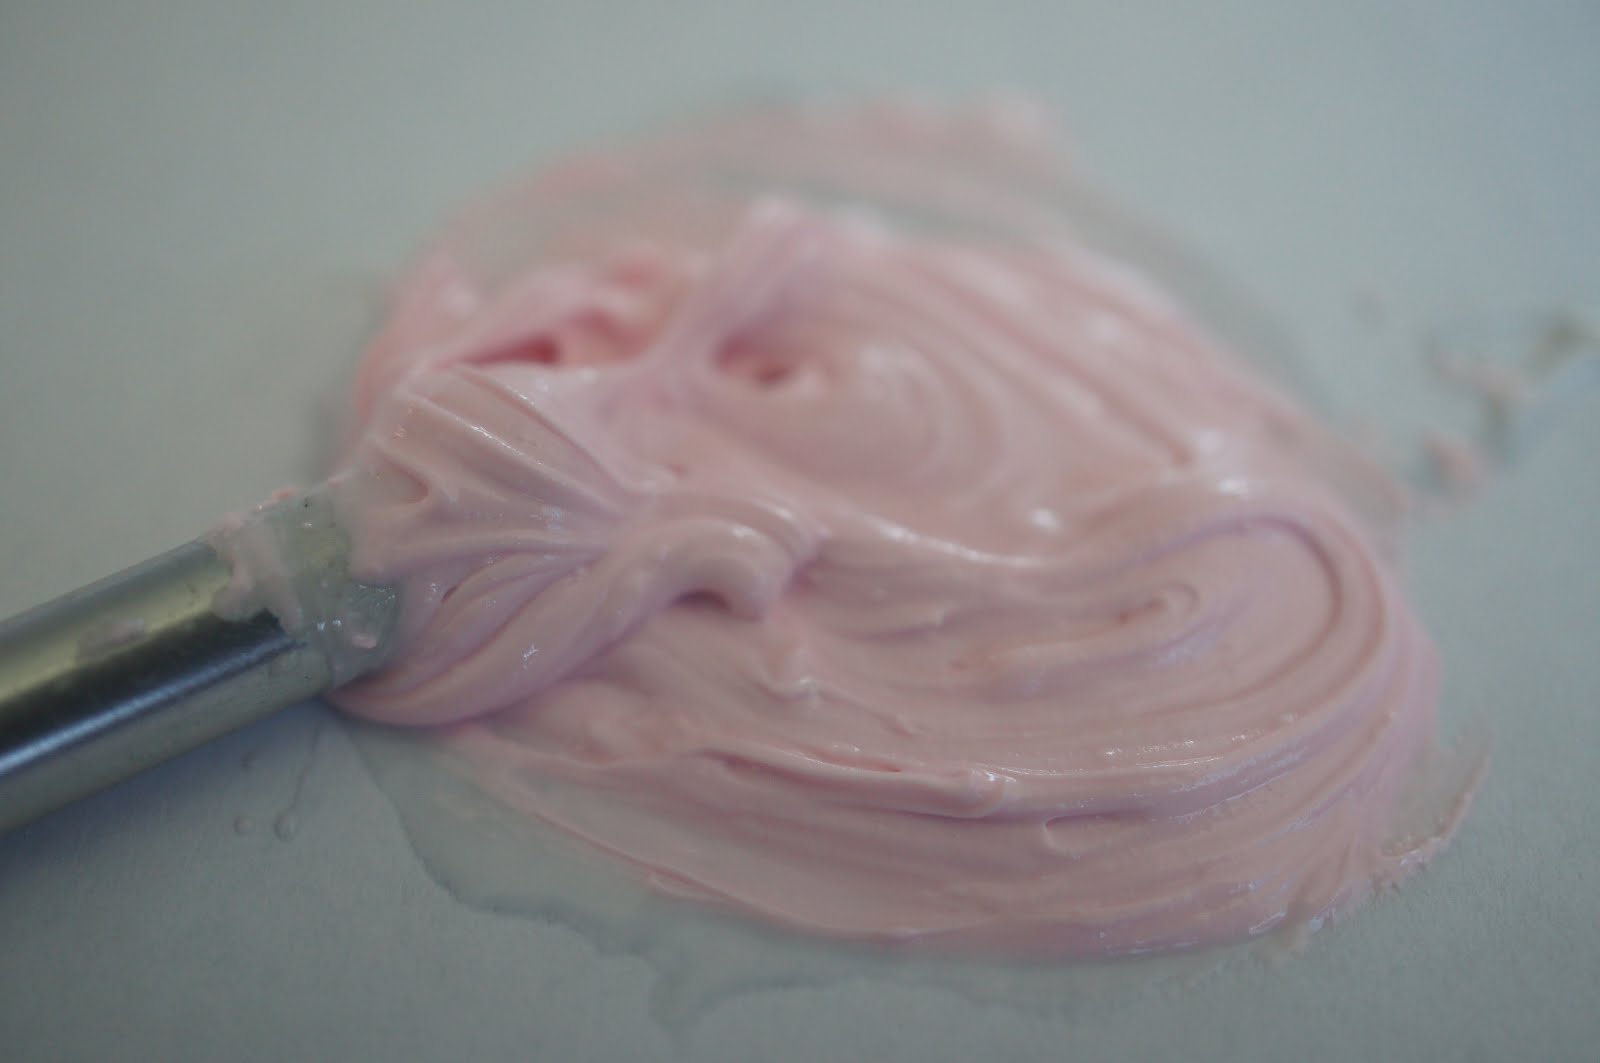
Step 3: Pour a tiny bit of TLS on some white paper. Add small pinches of your leftover white conditioned clay to the TLS. Here are some good photos using pink clay so you can see the process more clearly.
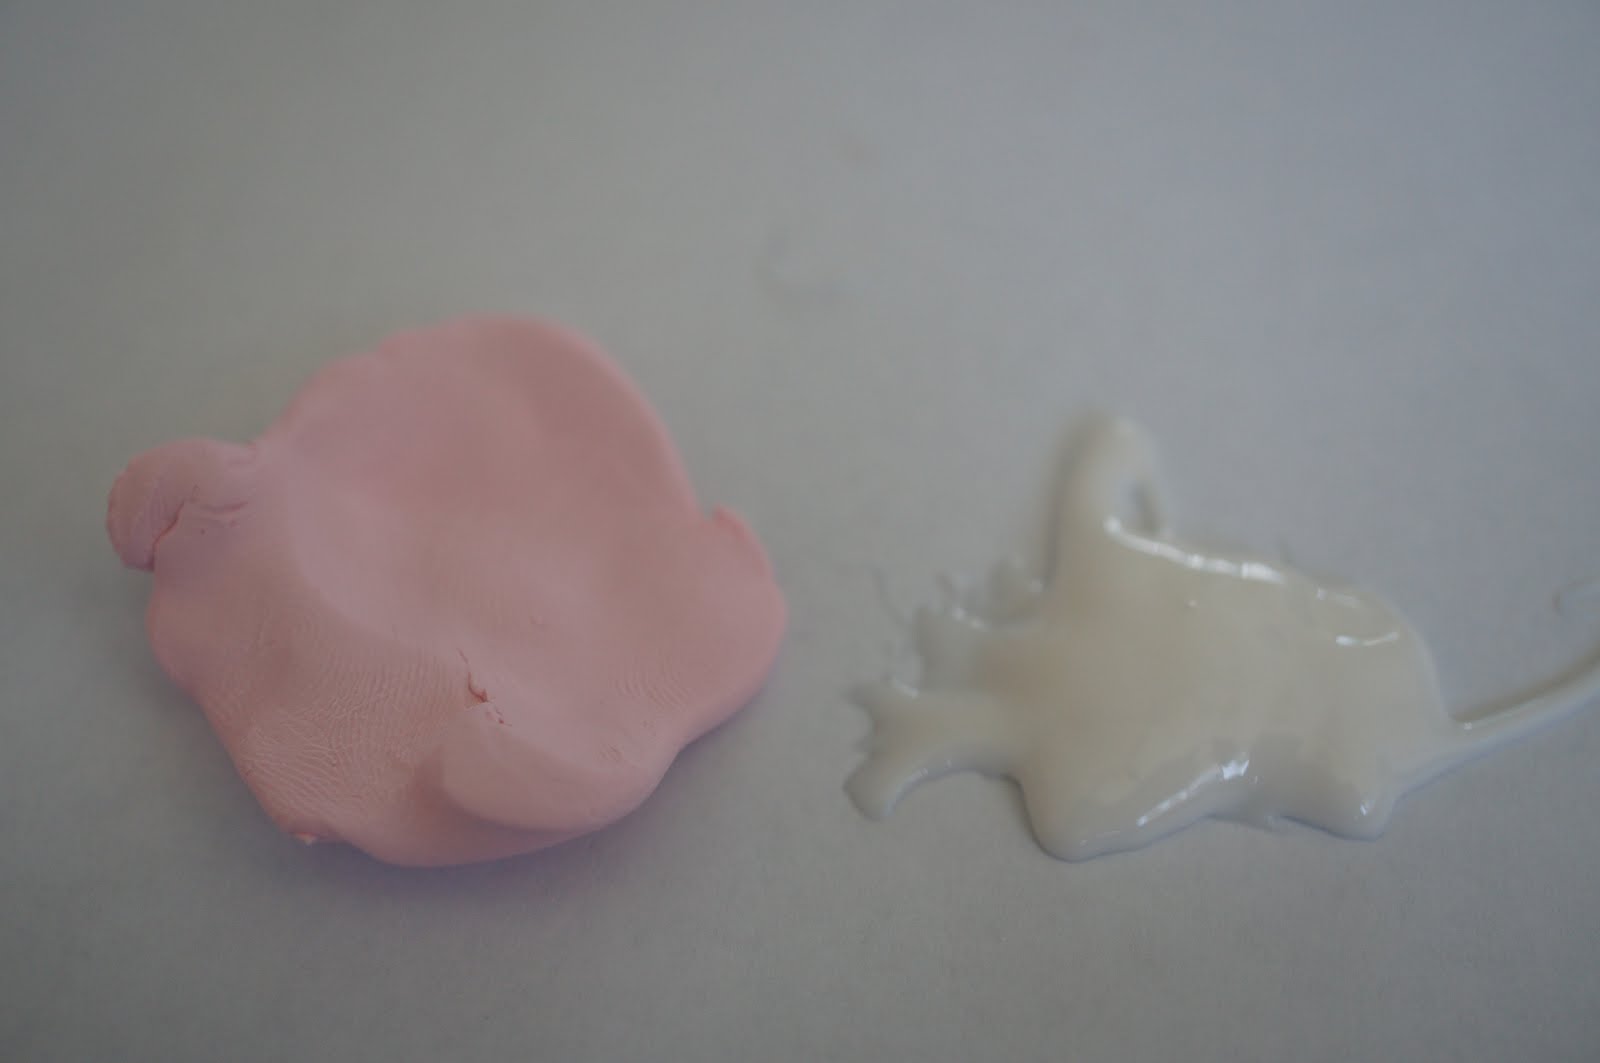
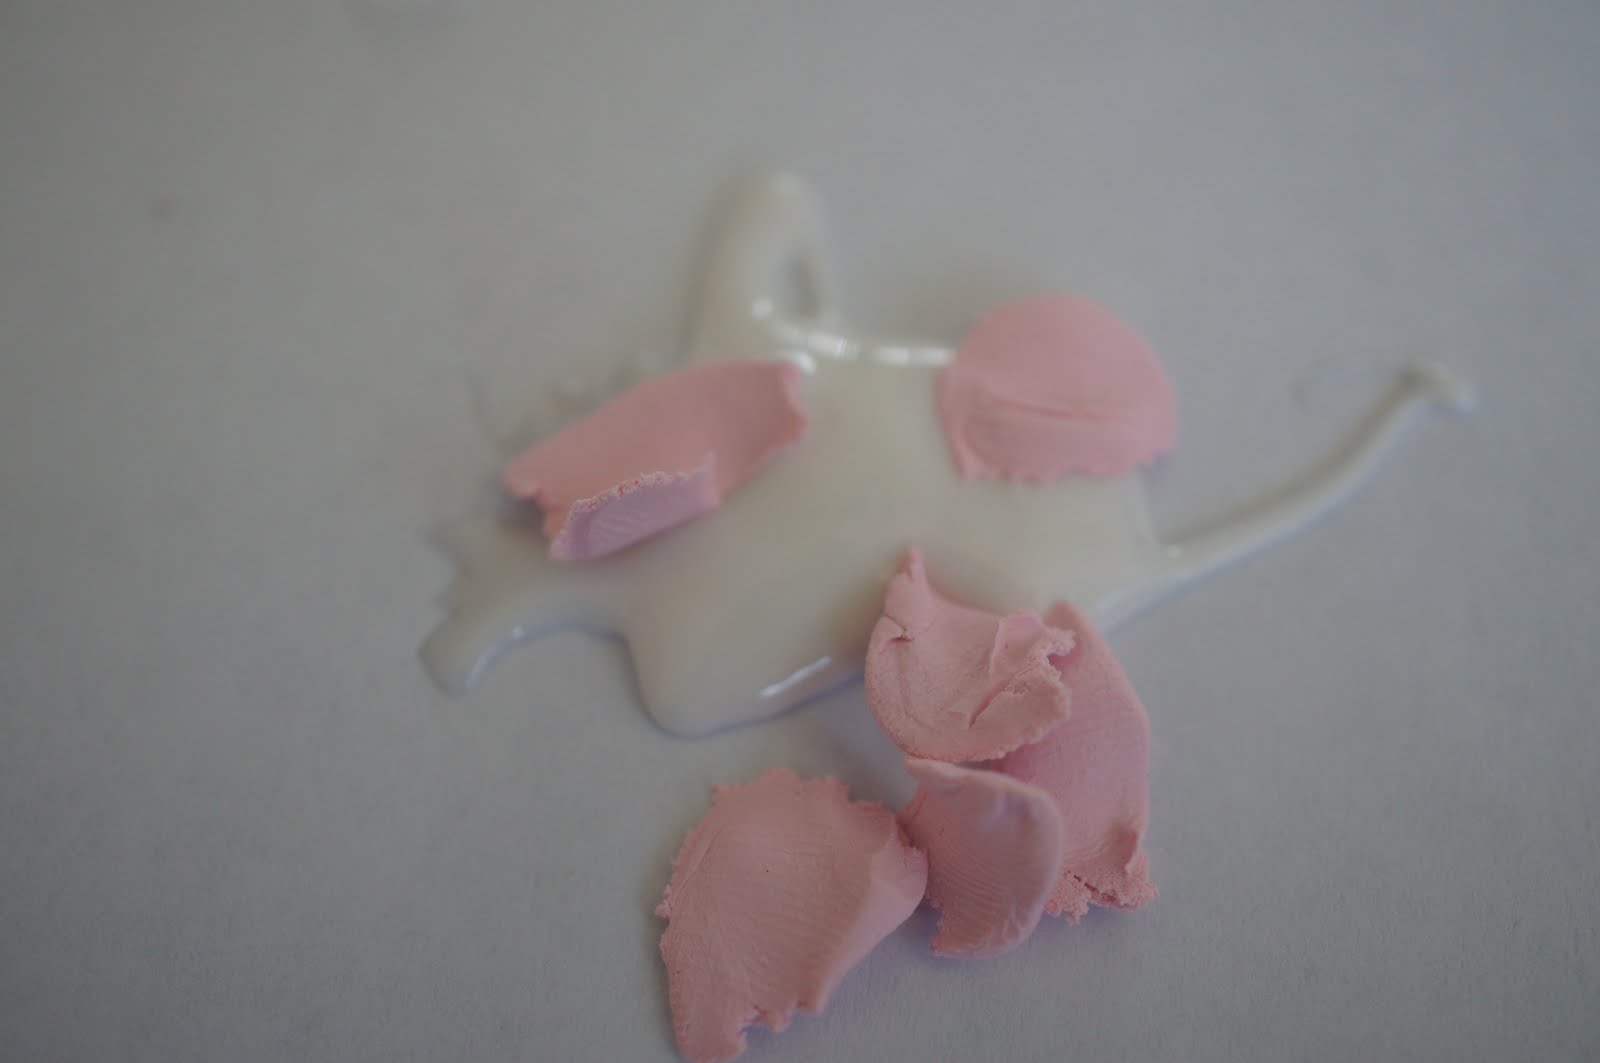
Step 4: Smash the white clay into the TLS with the back of your paint brush.
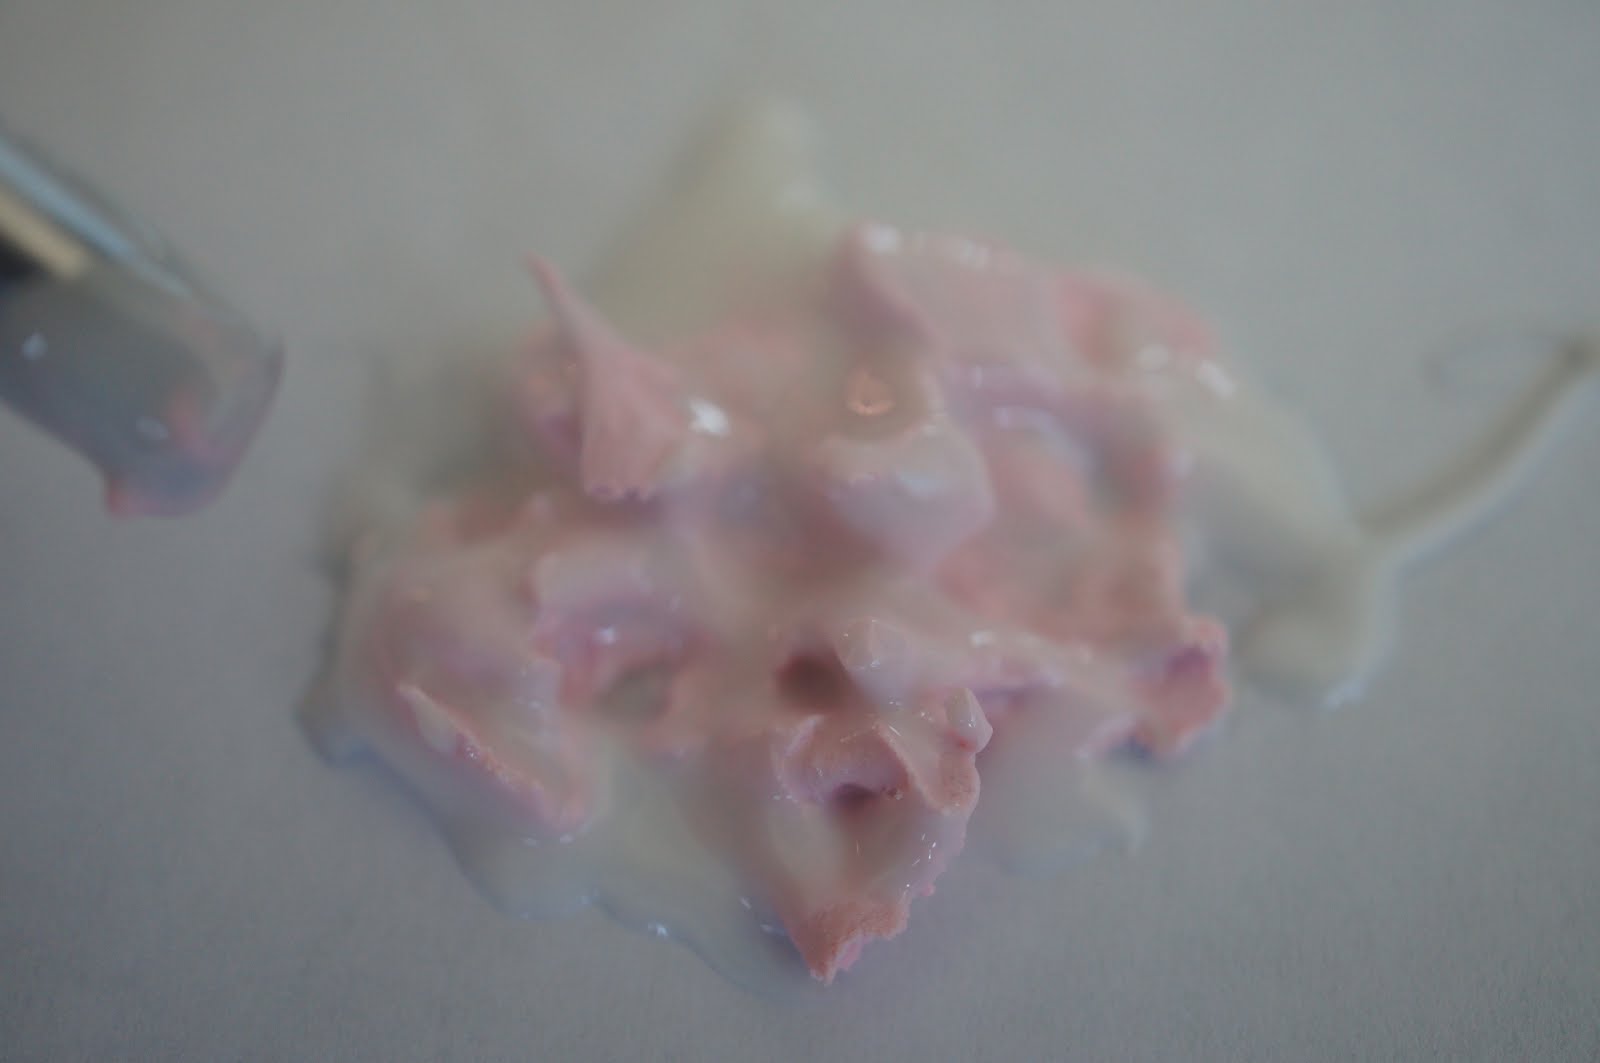
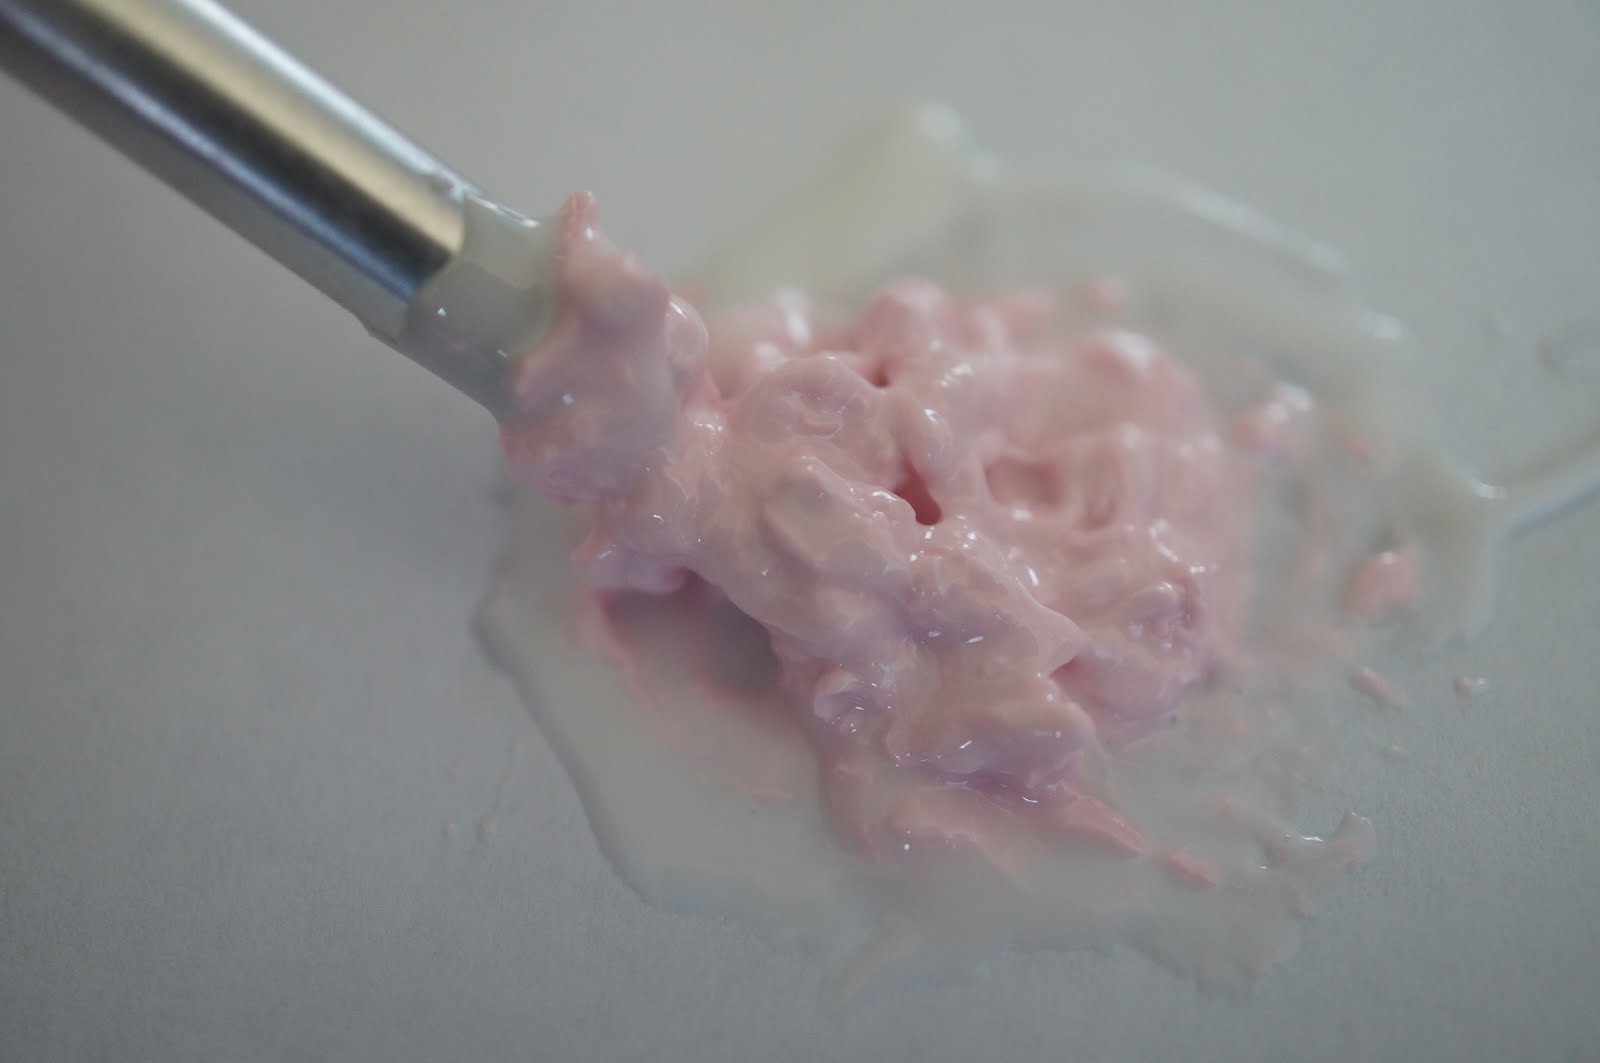
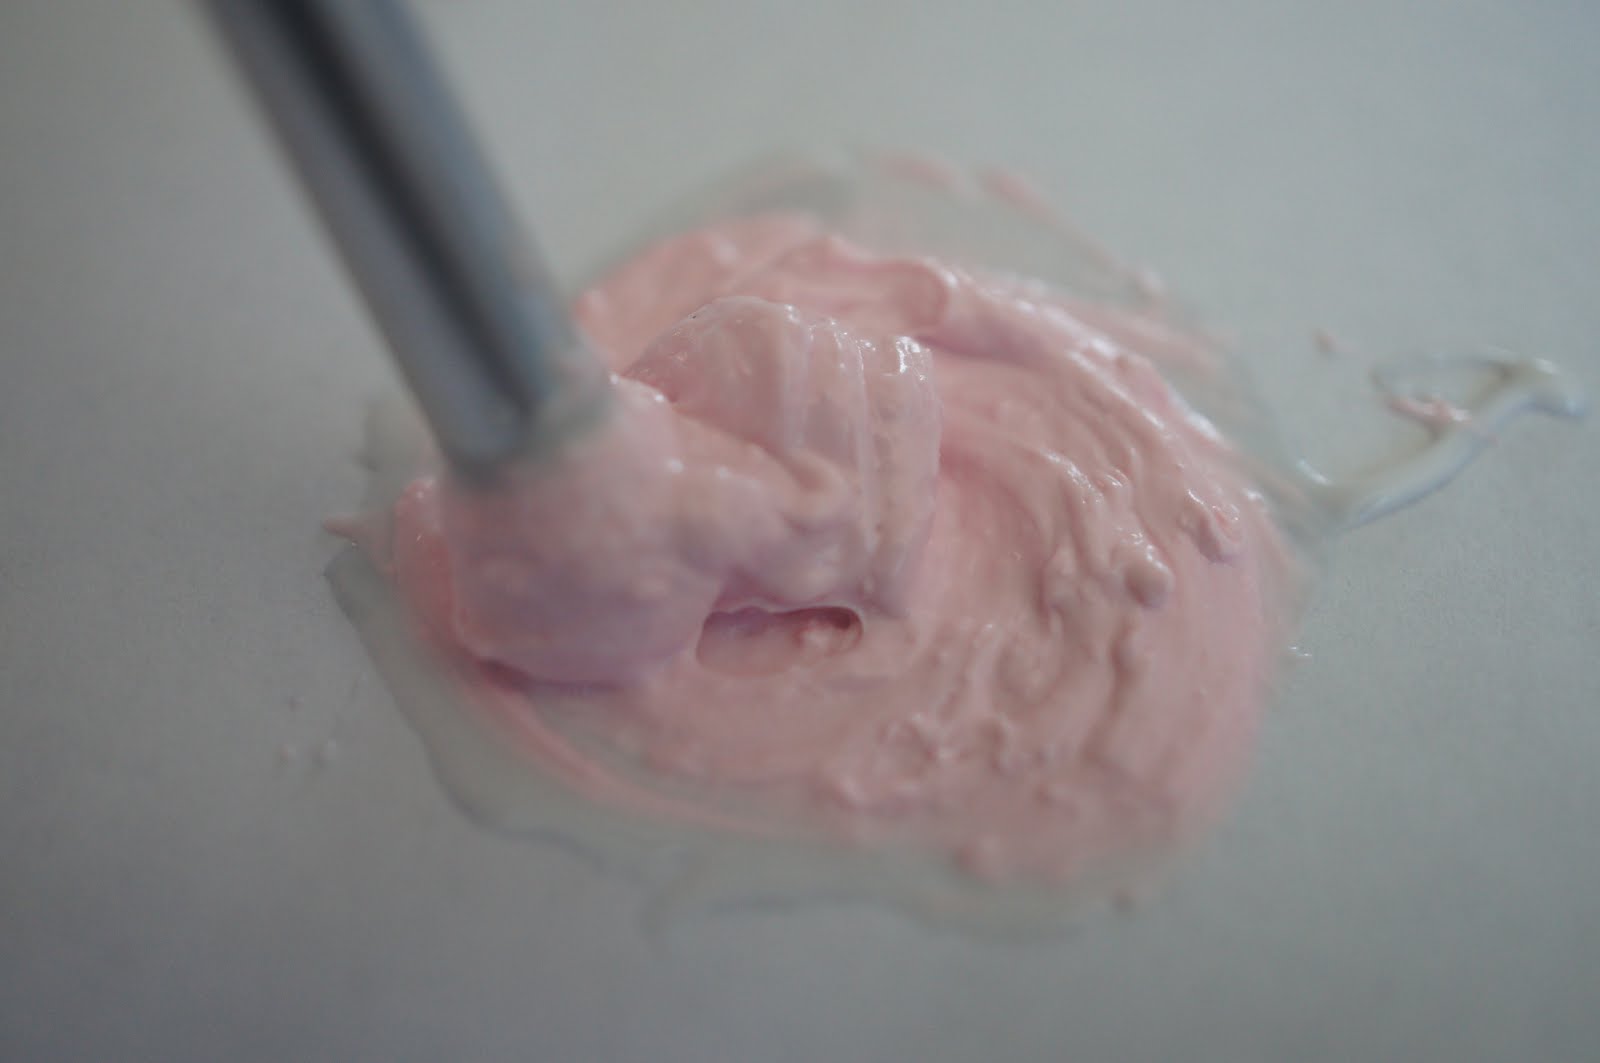
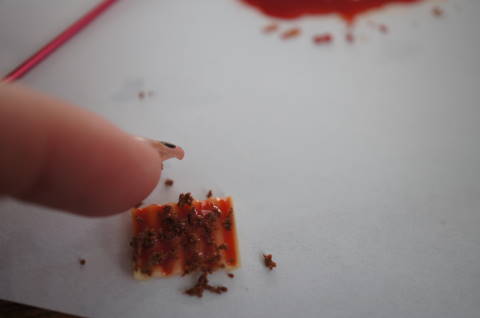
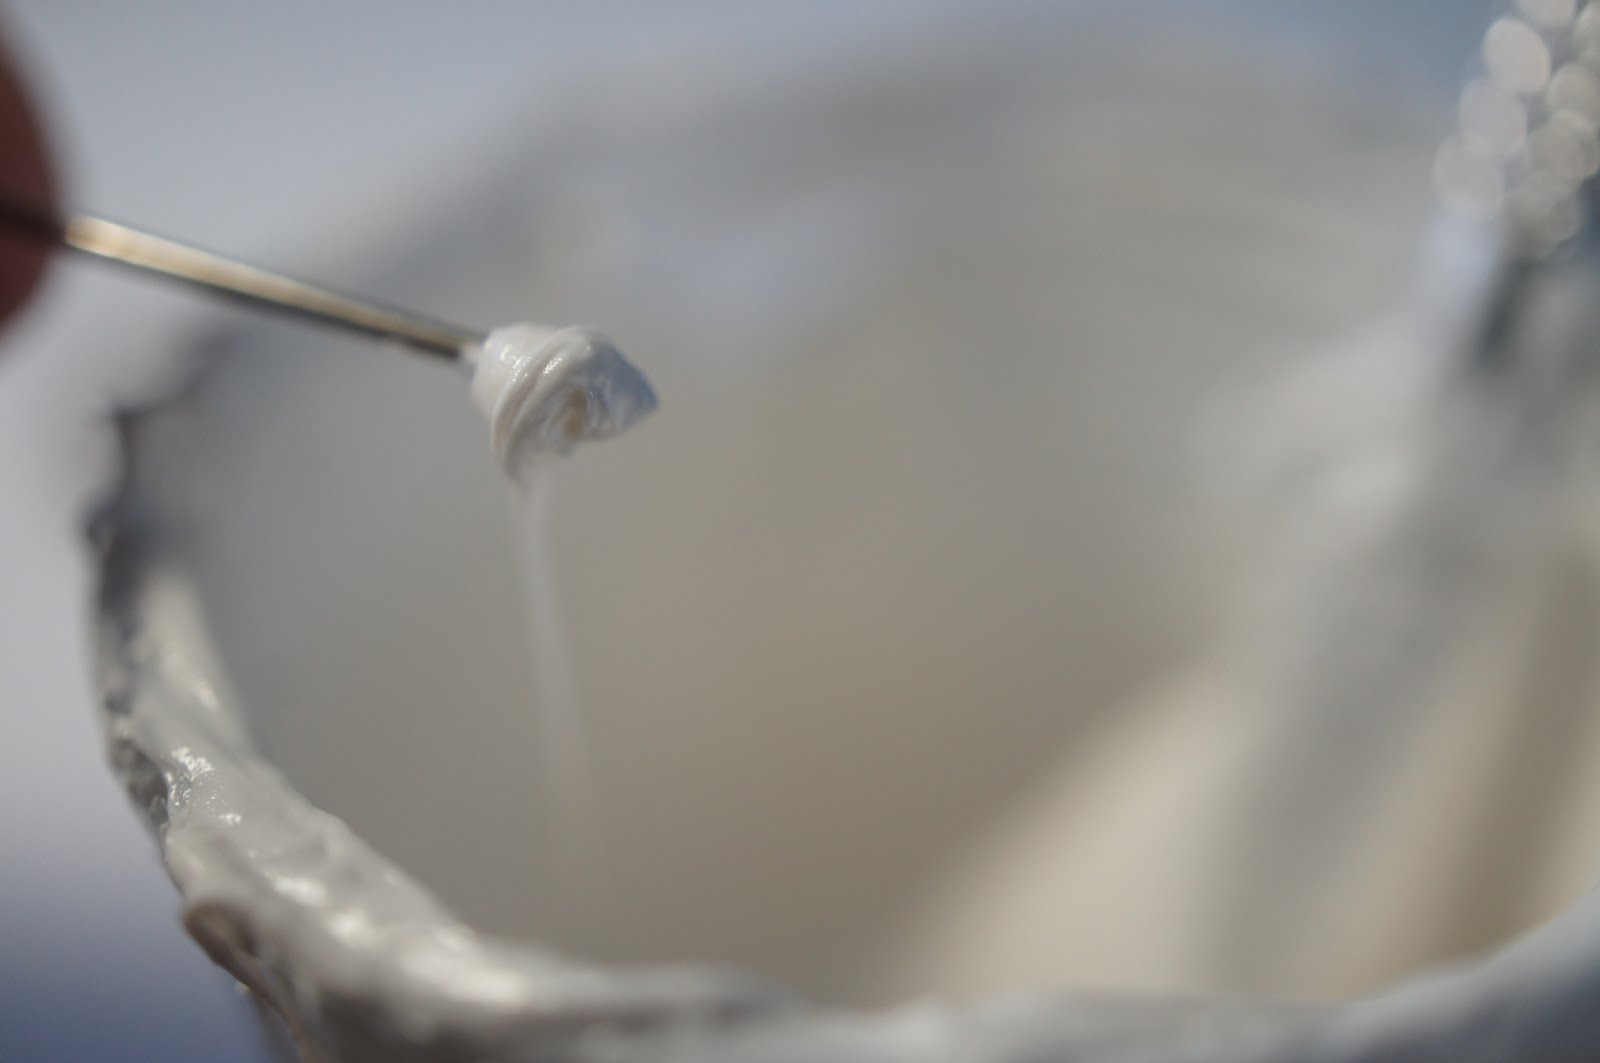
Step 5: Once you have pretty much pulvarized the white clay, stir the mixture together, with the end of back end of your paintbrush until all the lumps are gone.
Step 6: Dip the end of your safety pin point into the white filling and remove a small amount. Dab it onto the bitten area of your cupcake. You are finished now just bake it according to manufacturers instructions.
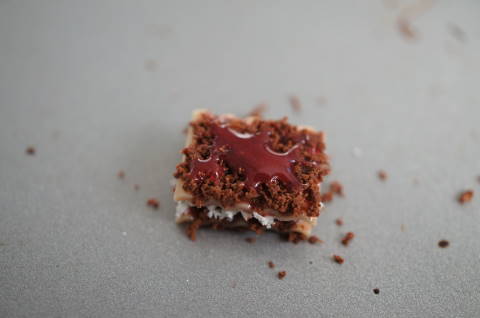
Once the cupcake has cooled, paint the filling and top with the sculpey glaze if you want them to look glossy.

Troubleshooting:
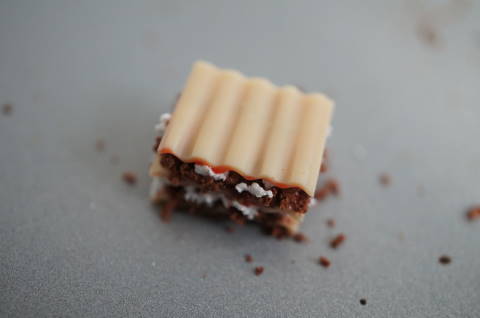
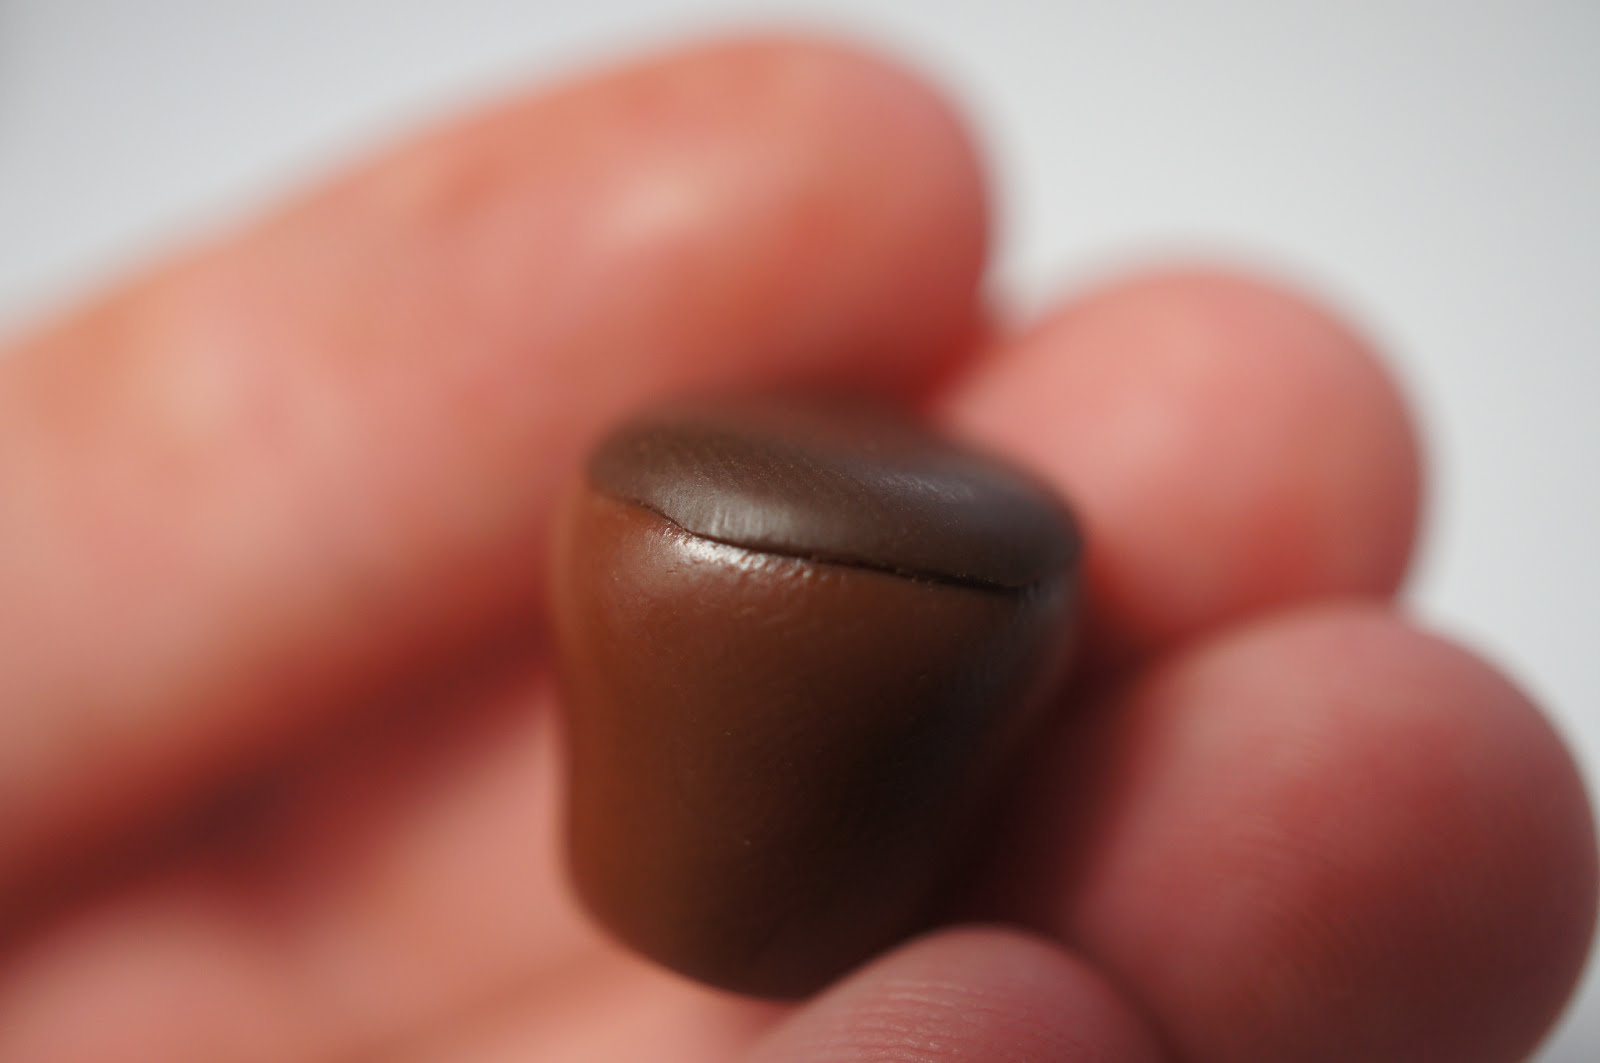
If your cupcake was squashed from the texturing, the clay was still a little too soft. There is a fine balance between being a little too soft, to becoming unconditioned. You can roll the bottom portion between your fingers to enlongate the cupcake before texturing the cupcake like the photo below.

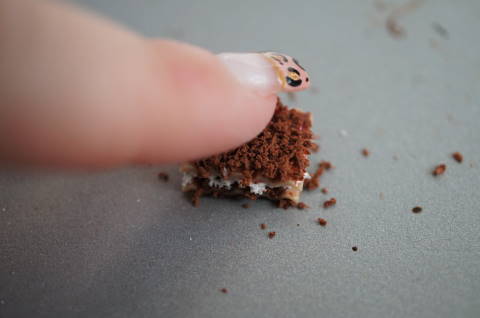
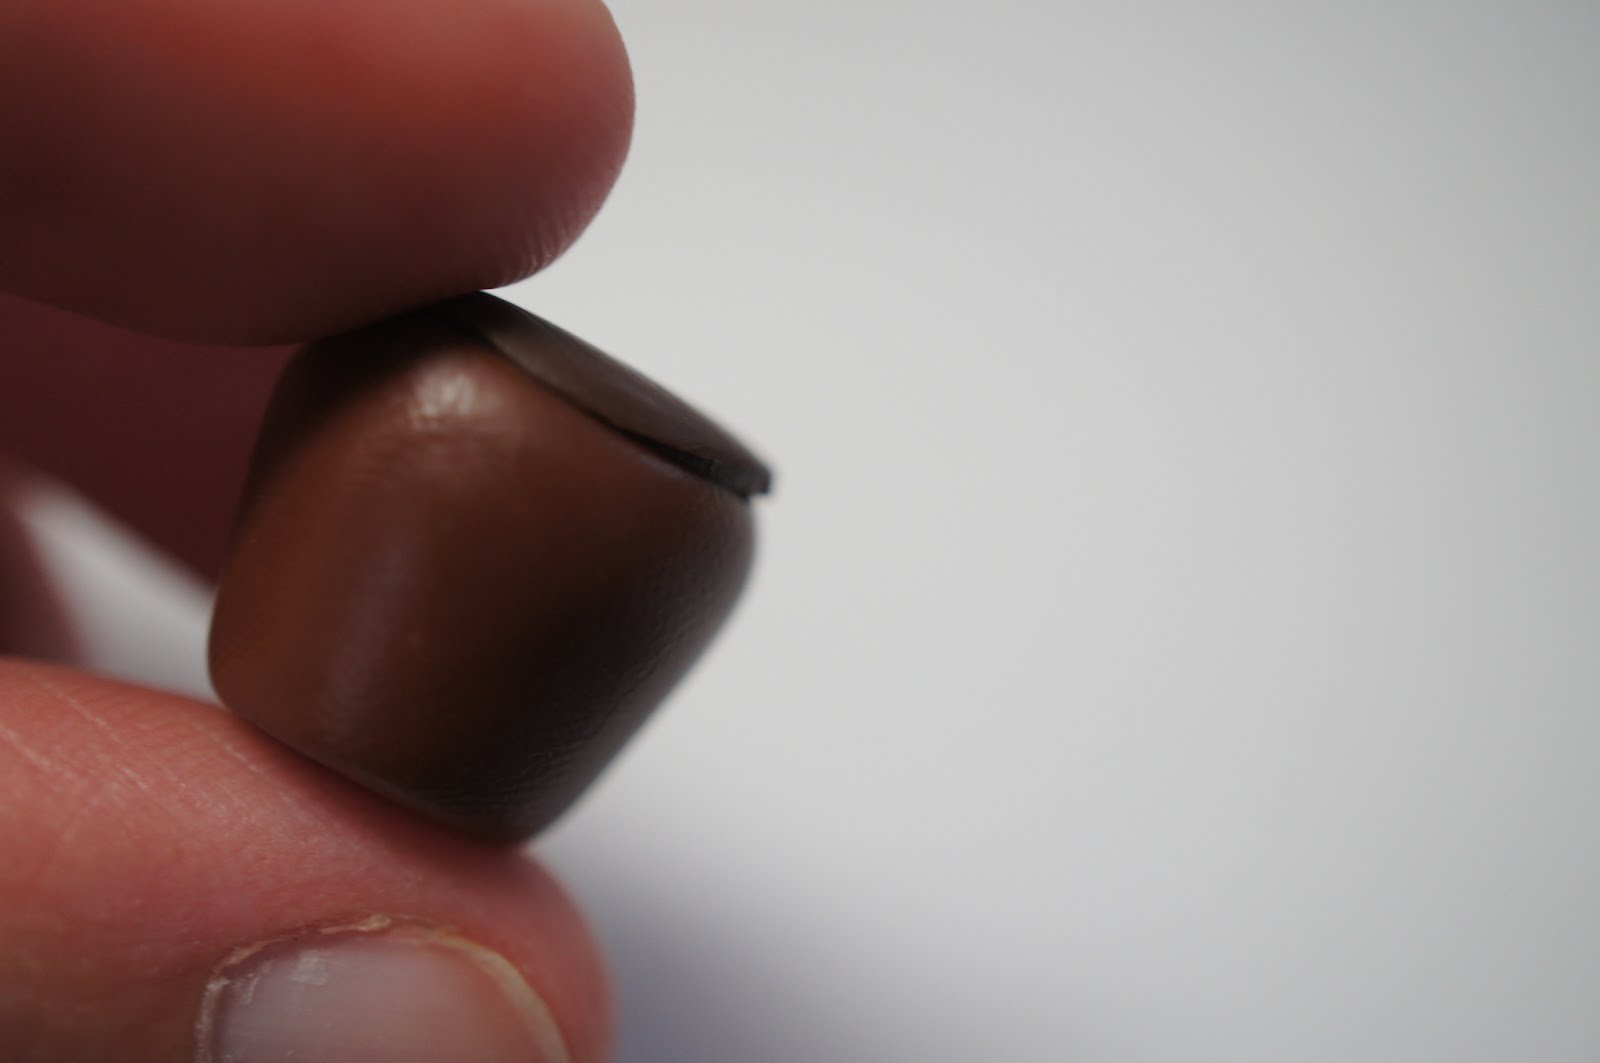
The easiest place to hold the cupcake while texturing is the top and bottom of the cupcake like shown below, and making the tiny circles with your other hand.
I hold the top with my index and middle fingers, so I can leave a gap where the loops are, avoiding smashing the loops. You can also control the texturing a bit better this way reducing the amount of squashing that reduces the cupcakes height.
**** Texturing takes practice, and each time you do it, it will look a little better than the time before. You can also practice this technique by using some scrap clay that has been conditioned to practice on, and you can even bake it as an example to keep for future reference.
I actually do this with a little conditioned clay every time I make cakes, just to see the cured results, to see if the cake color is right, once baked.