Broken Egg Tutorial

This tutorial was created by Heather Wells
of Sweet & Savory Trinkets
Materials:
1 2oz Package of White Premo
1 2oz Package of Sunshine Yellow Premo
1 2oz Package of Orange Premo
Pasta Roller
Plain White Paper
Corn Starch
Round Cutter ¾” across
A Small Marble
Straight Rigid Clay Blade
Fimo Deco Gel
Toothpick
Triple Thick Glossy Glaze
Paintbrush
Project Notes: White clay is hard to keep white. My family now knows the term “lint is the enemy” To keep my hands clean I use Kirkland baby wipes. I also let my hands air dry if I washed them with soap and water. Don’t dry them, even white paper towels will leave behind the dreaded lint.
If you touch anything other than the white clay, knead some white scrap clay until you remove the lint from your hands. There isn’t much you can do about the dust in the air settling but these are my best tips for keeping your clay clean.
Step 1: Condition some white clay half of a rectangle to one rectangle is plenty. Roll it out with your pasta roller. I use the third setting from the thickest setting. The exact setting is not crucial, you just want it to be thin since this is your egg shell. Lay your sheet of clay on a white sheet of paper
Step 2: Rub some corn starch on the top side of the clay. This will keep it from sticking to your fingers as you are forming the egg shell.
Step 3: Cut out a circle with your round cutter
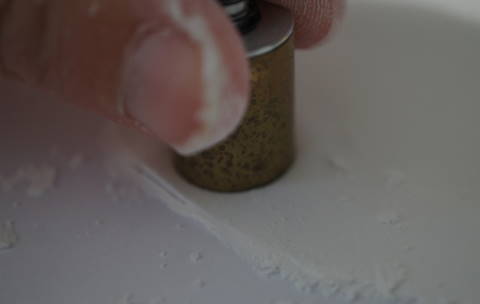

Step 4: Place the sticky underside of the round clay on the marble, and smooth the clay around the marble. I smooth the clay from the top center portion of the clay out towards the edges of the clay. The circle will form a bowl around the marble.
Step 5: Place a sheet of plain white clay on your baking sheet and cook according to instructions.
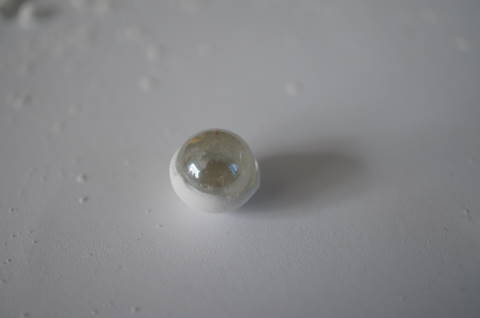
Step 6: When your marbles are warm (not cold) remove the marble from the clay. I use the side of my thumb nail to do this.


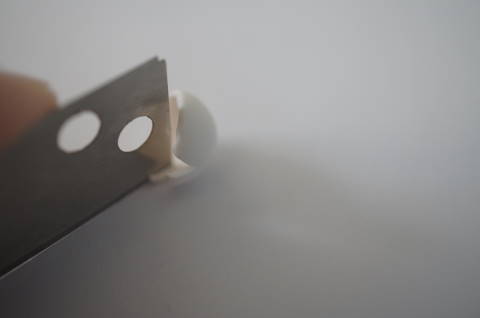
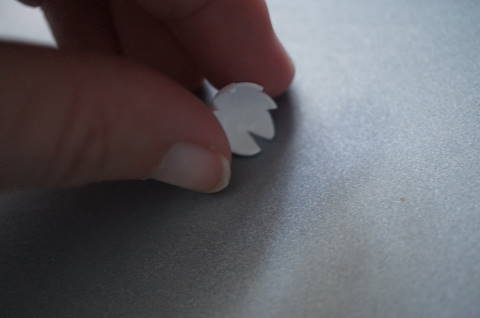
Step 7: Using your straight rigid blade, cut and remove tiny triangles for the edge of your egg shell. Place your egg shell aside for a moment.

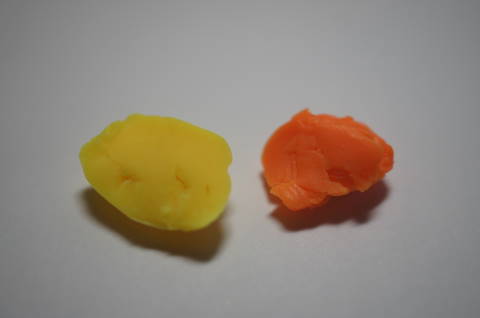
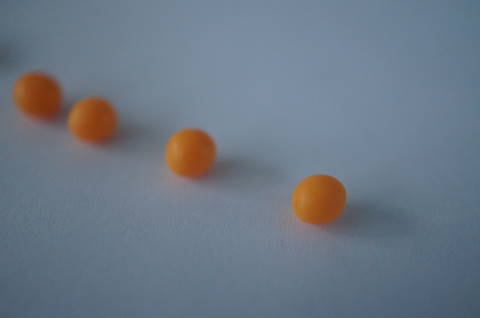
Step 8: Condition and mix a small amount of yellow and orange clay. The ratio I like is ⅔ yellow to ⅓ orange. roll a tiny ball 3 mm across.
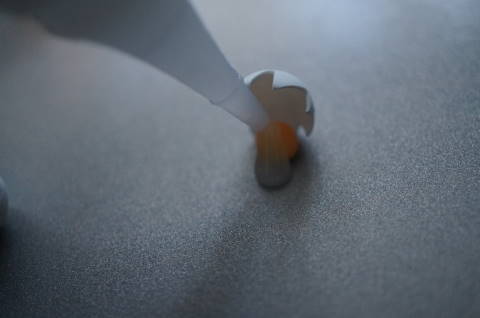
Step 9: Remove the piece of paper from your baking sheet. Use one hand to hold the egg shell sideways, with a pointed edge on the surface of the baking sheet, and place the yolk ball on the edge of your egg shell pressing down gently, to hold the egg shell upright in place on the baking sheet.
Bake according to instructions.

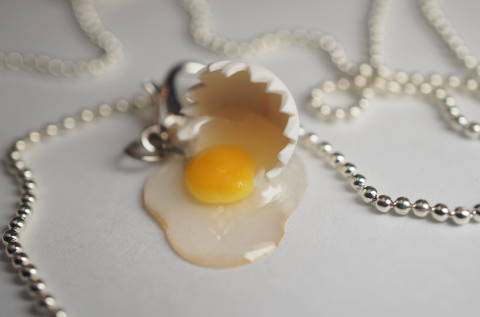
Step 10: leaving the egg and yolk on the baking sheet, pour some fimo deco gel slowly out on the yolk and around it. you can use a toothpick to help spread the deco gel, making sure to fill in the spaces that the egg shell and yolk meet, and shape it somewhat. The fimo wants to flatten and spread out, so don’t use a large amount. Baking according to instructions.

Step 11: Once your egg is cool add a little glossy glaze with your paintbrush to the egg white so it looks wet.
Thank you for visiting!
Heather
No comments:
Post a Comment