Saturday, August 22, 2015

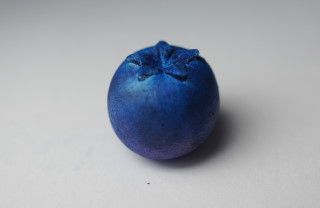
Blueberry Tutorial

I actually never did a youtube video on these,  so I hope you love them :) I will be posting  a knitting one today too,  but there will be at least one new polymer clay post each day I add a knitting post.
Blueberry Tutorial
Created by: Heather of Sweet & Savory Trinkets
Level: Beginner

Materials:
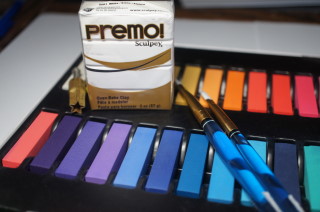
1 - 2oz Package of White Premo
Small Star Pattern Cutter 8mm From Point to Point (For Charm Size)
1 Sculpey Super Slicer Rigid Straight Blade
Pastels in Blue, Purple, Pink, and Aqua
Soft Acrylic Paint Brushes
A Few Sheets of White Paper
Baking Tray
Sculpey Gloss or Satin Glaze
Safety Pin
Ruler or Measuring Tape
Before We Begin:  The star cutter I use is the Kemper ⅜ star pattern cutter.  I purchased mine from the clay factory online.  Any star cookie or clay cutter close to that size will work.  I use it to make the bottom of the blueberry.  If you don’t mind the bottom being flat you can make a pretty blueberry without creating the bottom portion.  
A note on the plain white paper.  I use it as my work surface throughout this project, and I bake my pieces on paper on the baking sheet.  This keeps the pieces matte.  If they are baked on glass, and metal the clay tends to come out shiny where they meet.

Step 1:  Condition the clay thoroughly.  Remove a small portion and roll it into a ball.  Let them rest a couple of hours to get a little firm.
Charm size 13-14 mm
12th scale size 1mm (look at the notes at the end of the tutorial before following the instructions for scale blueberries)

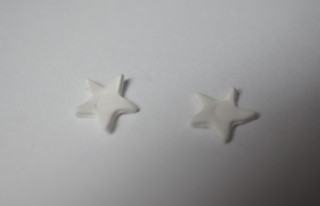
Step 2: For the charm sized blueberry, flatten a small portion of conditioned clay on your paper.  Cut out a star with your pattern cutter.
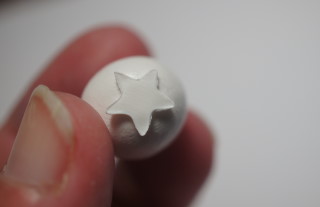
Step 3: Place the star on the tip of your index finger.  Place the star on the bottom of your ball.  using the end of your paint brush gently indent the bottom of your star into the circle slightly. It works well if you twist the paintbrush as you are gently pressing into the ball.  Twisting it will  help keep the paint brush from sticking to the clay.
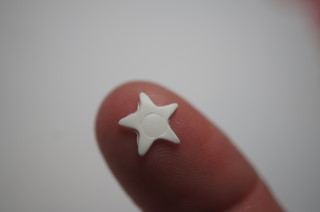
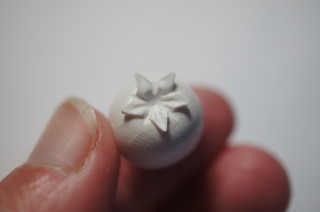
Step 4: Lift the point of the star gently away from the ball
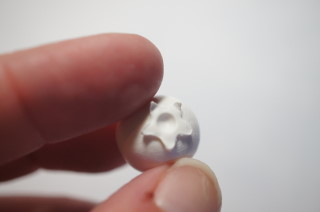
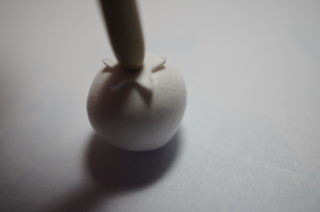
Step 5: Using your safety pin press down between each of the points of the star (there are 5).
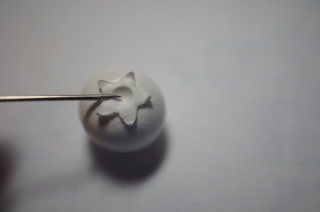
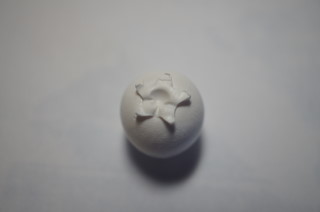
Step 6:  Now use the safety pin to make a slight indentation at the base of each star point (there are 5).   
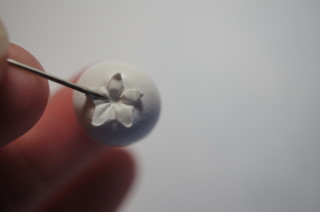
Step 7:  Turn the ball over gently, using the safety pin make a tiny hole in the top and rotate gently  to create the top portion of your blueberry (where the stem was before it was picked).
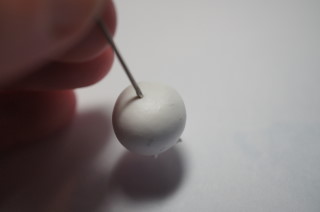
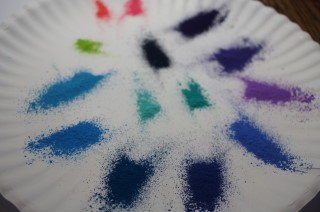
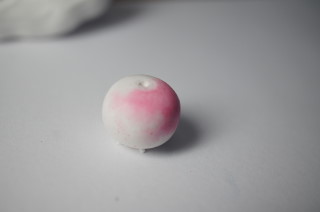
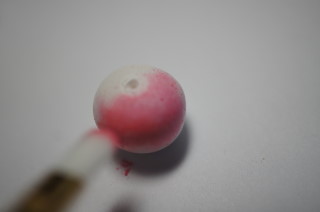
Step 8: Using your straight rigid slicer, scrape pastel dust in shades of aqua, blue, purple, and pink.  If you want some under ripe you can also add a yellow-green.
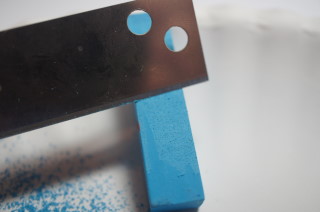
You may have been wondering why I used white you the blueberries.  I enjoy gardening, I am not very good at it..  but the fruit and veggies I grow change in color as they ripen.  Many of them have subtle shade and color differences even when ripe.  Blueberries (in my garden) start green, and get a rosy blush, they start to turn the dark blue, but often there will be pink hues.  Blueberries also tend to have a almost dusty look.  Instead of trying to make a blue clay blueberry and catch different hues, I start with white and use it like a blank canvas.   ** I highly suggest reading through the rest of the steps before actually doing them.  We work on the highlights first, gradually getting darker as you paint the pastel on.

Step 9: The fun part.  Using your paintbrush tap one of the lighter colors and start dabbing the blueberry with it. **We are making the highlights now.  I generally keep the highlights on the top half of the blueberry, often more on one side (where the sunlight would fall on the blueberry while it was growing).  Some may be just on top, some more on the side.  If you are making multiple blueberries make a few of each to see what you like best.  I will give you a couple of color variations at the end, with the list of colors in their order.
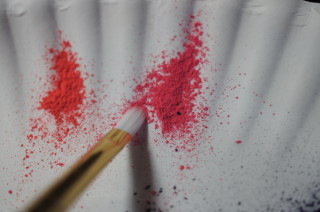
Step 10:  Dip your paintbrush in a new color and dab the new color on the blueberry.  If you are using a secondary highlight color, dab it on the  edges of the original color, and extending a bit into the white unpainted section.
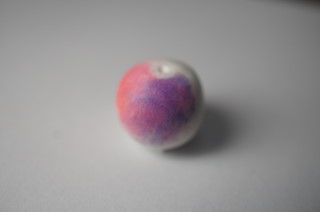
Step 11:  Dip your paintbrush into the next color and dab the new pastel onto the blueberry, leaving a portion of the highlight unpainted.  Repeat this step in as many colors as you wish
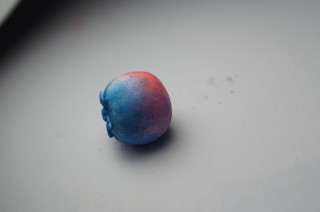
Step 12: Dip the paintbrush into the darkest shade you wish to use and paint the bottom of the blueberry, and small portions around the side leaving portions of the previous colors unpainted to retain the highlights.
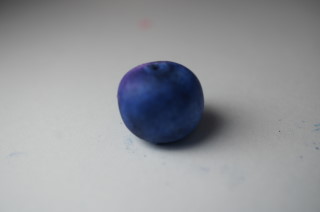
Step 13:  Bake your blueberries according to manufacturers instructions.  
After you remove them and allow them to cool completely paint them with your choice of matte, satin, or gloss glaze to protect the painted  surface.  


Variations:  
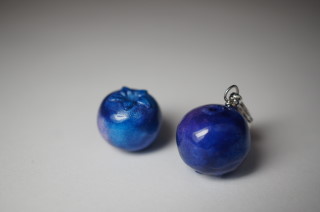
Pink Highlight:
Coral -highlight,  bright pink -highlight, light purple - secondary highlight
Periwinkle blue- all over except highlighted area
Teal on bottom, and sporadic, dark blue - all over
Navy blue all over except highlight.

Green highlight:
Yellow-green -highlight, light purple secondary highlight
periwinkle - all over sporadic
Teal - all over, Dark blue - all over
Navy Blue - All over except highlight
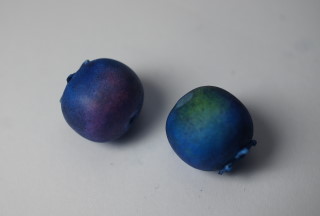
The left is pink highlights, the right yellow-green highlights


****   Have you noticed the bottom is similar to the top of a tomato?  There are many variety of tomatoes.  I would paint the tomatoes in the same way.  I work from the lightest to the darkest colors.  I would paint the tomato before adding the star..  You can paint the top of the star in green and brown before attaching it, or you can condition a green premo clay and attach it the same way we do here, just do it after you paint the tomato.  

***A note on 12th scale miniatures.  When I give you measurement to create 12th scale foods, I measure the real life item.   For example, the blueberries in my garden measure 12-14mm across.  I then devide the mm measurement by 12.  In this case it would be 1mm to just over 1mm.
If you wish to make blueberries in 12th scale, it will be quite difficult to create the bottom of the blueberry.  I would personally just make the top with the safety pin as you did in this project.   
For color you can use blue polymer clay, or you can use the tiny acrylic paint brushes and paint the blueberry as you did here.  If you love making scale miniatures, you may want to create a list of measurements in a document just to have handy.  

I would decide which colored clay to use depending on the project.
If I made a basket of blueberries, to scale I would paint them with pastel and use the white clay.

For items I glaze with blueberry syrup, like blueberry cheesecake, waffles, or pie, I would just use blue clay.  

Bonus Recipe - Blueberry Syrup
Translucent Liquid Sculpey (TLS)
Pastels - Plum, red, medium blue
Straight rigid sculpey sclicer
Toothpick

To make blueberry syrup scrape some pastel dust of all the  colored pastels mentioned.  Pour a small amount of TLS on your sheet of paper.  You will want to mix mostly plum in with the TLS.  If the plum is more purple, add some red and a touch of blue, if it is a rich boysenberry colored plum, just add a touch of blue.  
I then use the toothpick to drizzle the blueberry syrup on my tiny food.

Friday, August 21, 2015

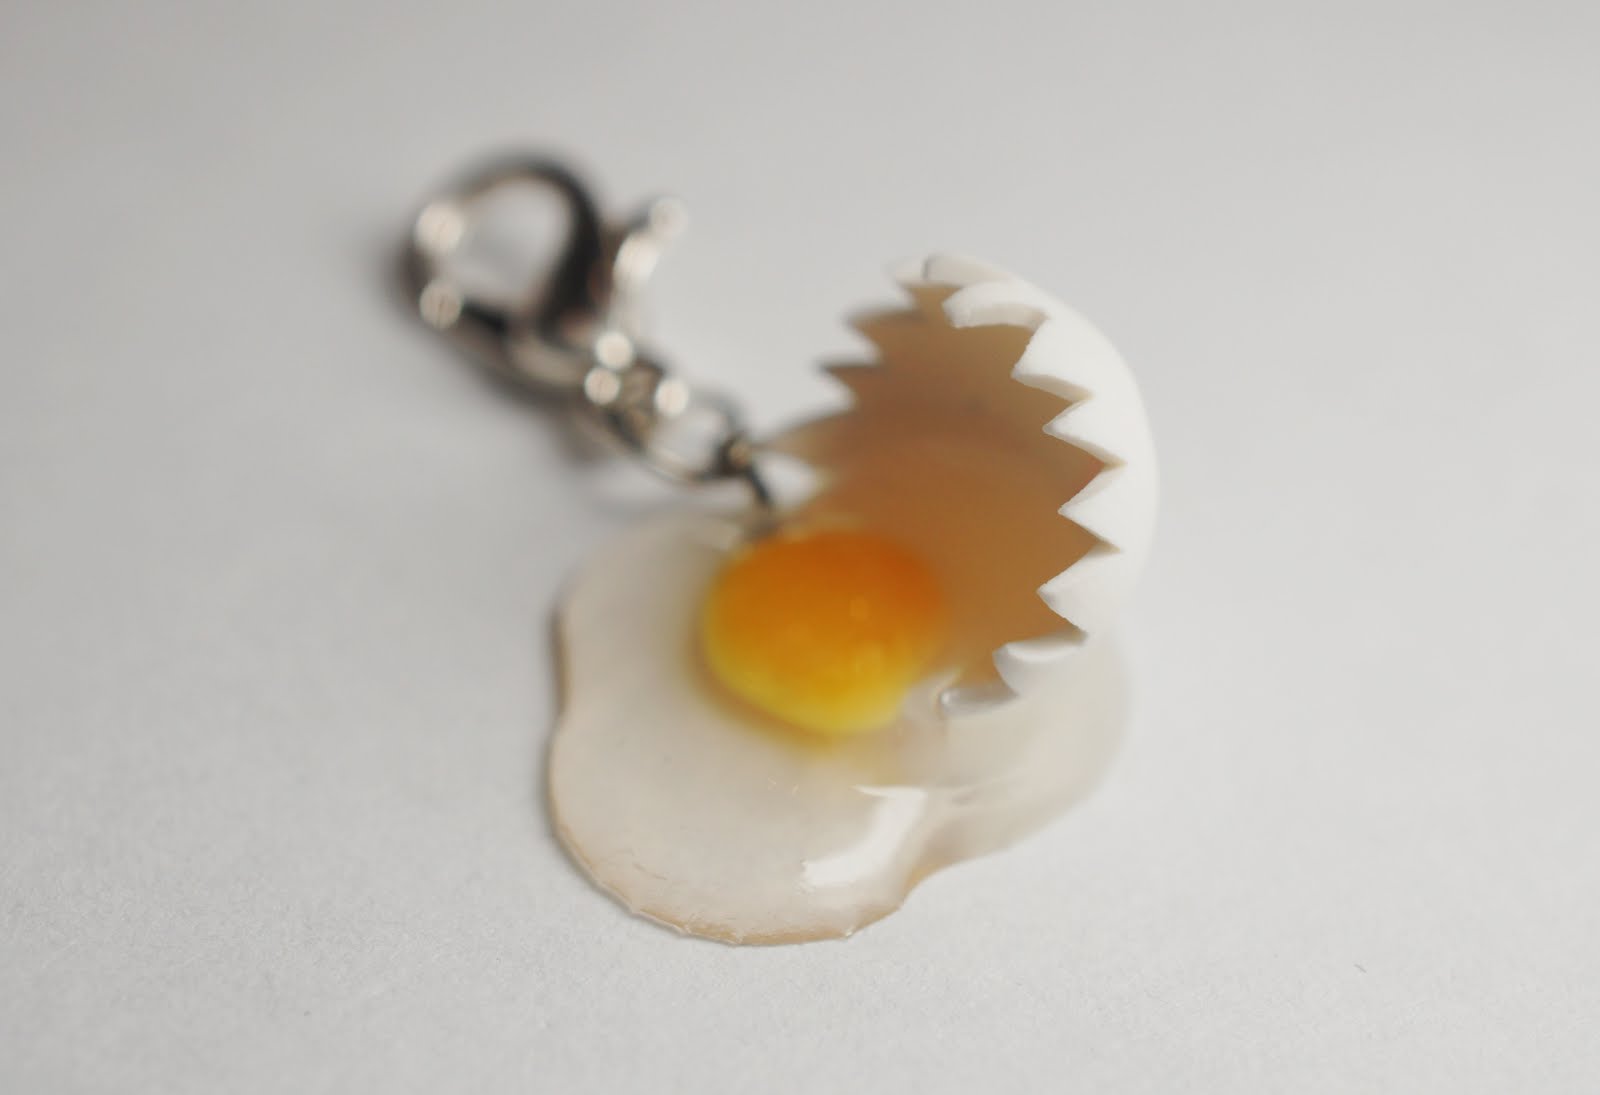
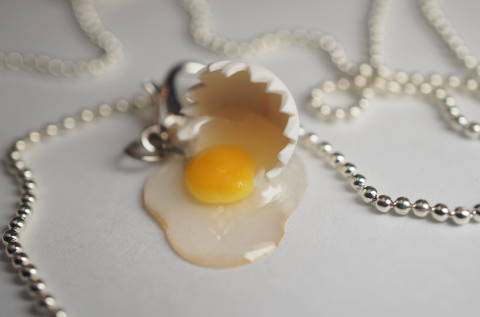
Broken Egg Polymer Clay Tutorial by Heather Wells

Sorry about the multiple blog posts today,  It came to my attention, that some of my written docsuments are not opening for people, so I am posting them here too.  So for a while there will be a new written tutorial every couple of days.  This is the last for today.
Broken Egg Tutorial
This tutorial was created by Heather Wells
of Sweet & Savory Trinkets
Materials:
1 2oz Package of White Premo
1 2oz Package of Sunshine Yellow Premo
1 2oz Package of Orange Premo
Pasta Roller
Plain White Paper
Corn Starch
Round Cutter ¾” across
A Small Marble

Straight Rigid Clay Blade
Fimo Deco Gel
Toothpick
Triple Thick Glossy Glaze
Paintbrush

Project Notes:   White clay is hard to keep white.  My family now knows the term “lint is the enemy”  To keep my hands clean I use Kirkland baby wipes.  I also let my hands air dry if I washed them with soap and water.  Don’t dry them, even white paper towels will leave behind the dreaded lint.
If you touch anything other than the white clay, knead some white scrap clay until you remove the lint from your hands.  There isn’t much you can do about the dust in the air settling but these are my best tips for keeping your clay clean.  

Step 1:  Condition some white clay half of a rectangle to one rectangle is plenty.  Roll it out with your pasta roller.  I use the third setting from the thickest setting. The exact setting is not crucial, you just want it to be thin since this is your egg shell.  Lay your sheet of clay on a white sheet of paper

Step 2:  Rub some corn starch on the top side of the clay.  This will keep it from sticking to your fingers as you are forming the egg shell.

Step 3:  Cut out a circle with your round cutter

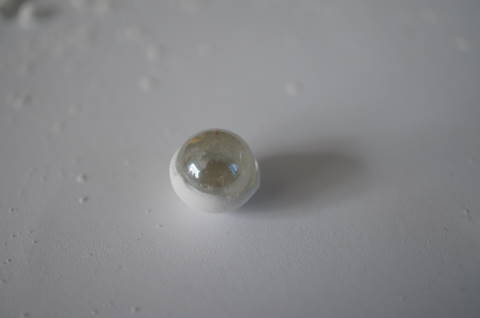
Step 4: Place the sticky underside of the round clay on the marble, and smooth the clay around the marble.  I smooth the clay from the top center portion of the clay out towards the edges of the clay.  The circle will form a bowl around the marble.

Step 5: Place a sheet of plain white clay on your baking sheet and cook according to instructions.  
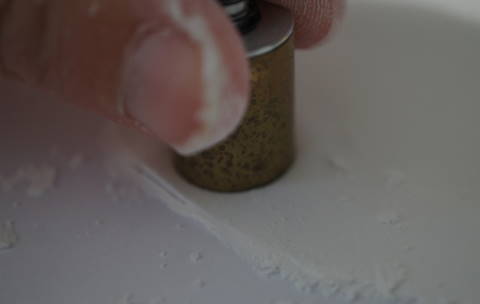
Step 6:  When your marbles are warm (not cold) remove the marble from the clay.  I use the side of my thumb nail to do this.  

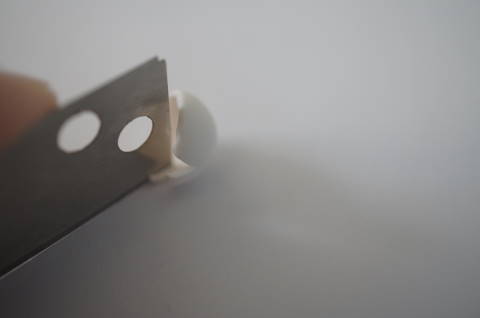
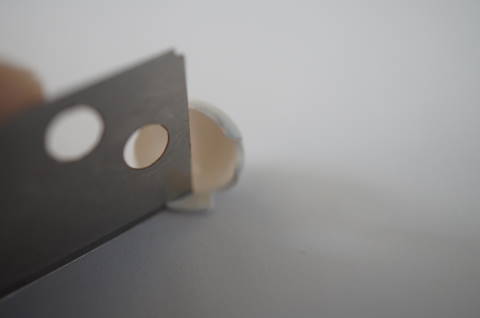
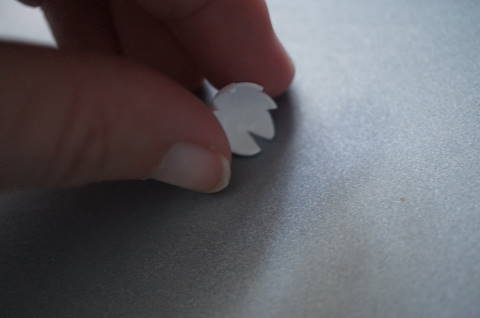
Step 7:  Using your straight rigid blade, cut and remove tiny triangles for the edge of your egg shell.  Place your egg shell aside for a moment.

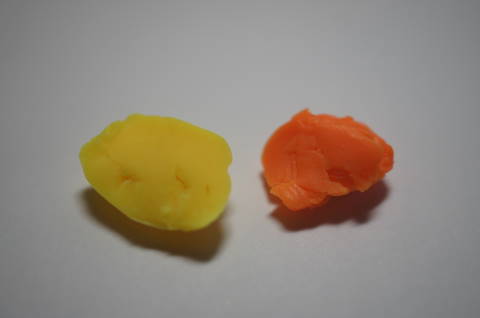
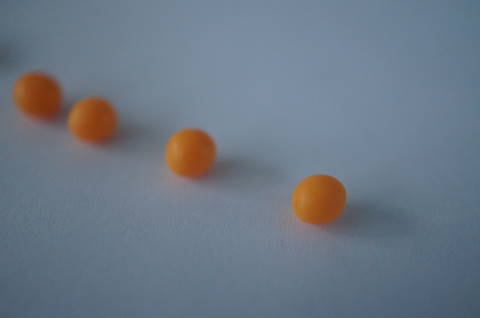
Step 8:  Condition and mix a small amount of yellow and orange clay.  The ratio I like is ⅔ yellow to ⅓ orange.  roll a tiny ball 3 mm across.

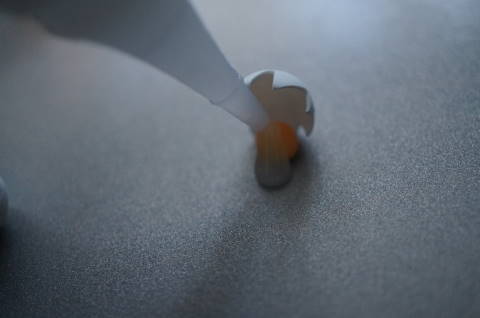
Step 9:  Remove the piece of paper from your baking sheet.  Use one hand to hold the egg shell sideways, with a pointed edge on the surface of the baking sheet, and place the yolk ball on the edge of your egg shell pressing down gently, to hold the egg shell upright in place on the baking sheet.
Bake according to instructions.
Step 10:  leaving the egg and yolk on the baking sheet, pour some fimo deco gel slowly out on the yolk and around it.  you can use a toothpick to help spread the deco gel, making sure to fill in the spaces that the egg shell and yolk meet, and shape it somewhat.   The fimo wants to flatten and spread out, so don’t use a large amount.   Baking according to instructions.
Step 11:  Once your egg is cool add a little glossy glaze with your paintbrush to the egg white so it looks wet.  


Thank you for visiting!
Heather

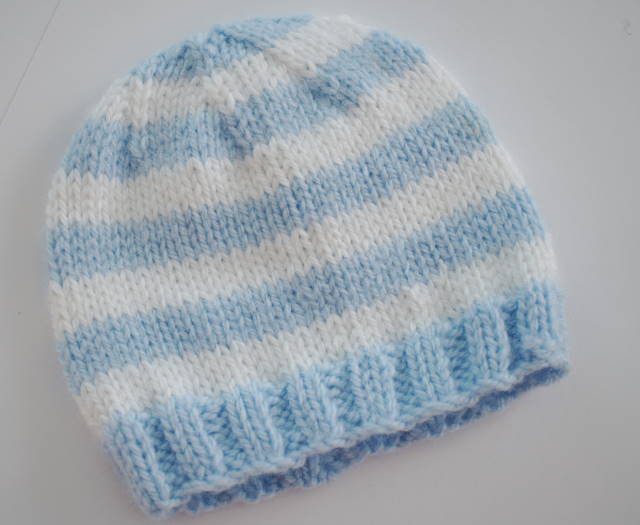
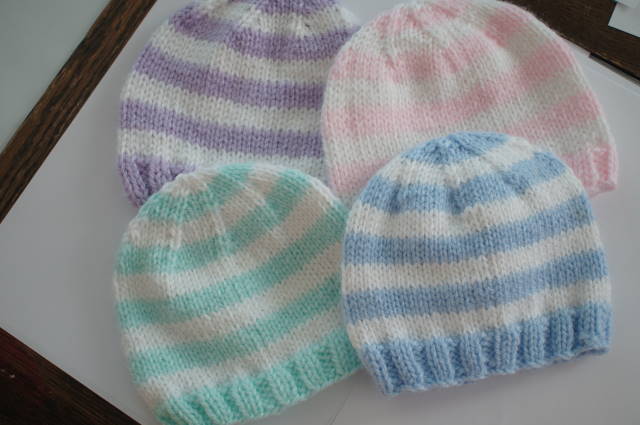
Striped Baby Hat

Striped Baby Hat
DSC08107 (2).JPG
Created by:  Heather Wells

Materials
Color A: Blue Light Worsted Weight Yarn
Color B: White Light Worsted Weight Yarn
Yarn Needle, and Scissors
Knit in Snuggly Wuggly

Needle Size
U.S. 6 (4mm) Dpns

Gauge: 22s / 30 r  = 4”
Sizes Preemie, 0-3 mos, 3-6 mos, 6-12 mos, Toddler

Color Pattern:  Knit 4 rounds in Color B, Four Rounds in Color A.  Repeat.

Cast on 56, 64, 80, 88, 96  evenly across 4 dpn needles with Color A, and join in the round being careful not to twist cast on.
Rounds 1 -6:  *In Color A knit 2, purl 2.  Repeat from * around.
Continue in Stockinette Stitch Knitting all remaining rows in color pattern.

Preemie Start Shaping rounds when piece measures 2 ½” in length
0-3 mos:  Start Shaping when piece measures 3 ½”  in length
3-6 mos:  Start shaping when piece measures 4” in length
6-12 mos: Start shaping when piece Measures 4 ½”  in length
Toddler:  Start shaping when piece measures 5” in length

Shaping rounds,  keeping in color pattern
Round 1: *Knit 6, K2tog.  Repeat from * around.
All even Rounds:  Knit
Round 3: *Knit 5, K2tog.  Repeat from * around.
Round 5: *Knit 4, K2tog. Repeat from * around.
Round 7: *Knit 3, K2tog.  Repeat from * around.
Round 9: *Knit 2, K2tog.  Repeat from * around.
Round 11: * Knit 1, K2tog.  Repeat from * around
Round 13: K2tog around.

**For  the toddler size knit one more round, then repeat row 13 one more time.

Using yarn needle pull yarn through all remaining stitches, and weave in all ends.  

DSC08105.JPG

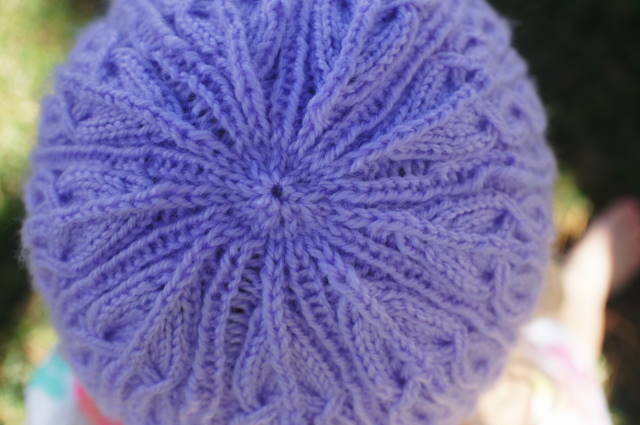
Rorrie's Slipped Cable Hat

Rorrie’s Slipped Cable Baby Hat
DSC08340.JPG
Designed by: Heather Wells
Materials:
1 Skein of Fine Baby yarn : Example worked in Bernat Baby , color Soft Lilac
U.S. 3 DPNs
Gauge 10 st/9r per inch without stretching
Sizes: 0-3mos (3-6mos, 6-12mos, toddler)
Slip St Cable: Drop slipped st off needle, and leave in front of work, slip next 3 stitches to right hand needle, drop the next stitch off your left needle.  Place the first slipped stitch on left needle, slip the 3 stitches from the right hand needle back on the left hand needle, pick up the other dropped stitch with your right needle and slide it back onto your left needle then knit these five stitches.
Pattern Dec: Slip next stitch to the right needle, place next stitch on a holder, slip next stitch from the left needle to your right needle.  Place the stitch from the holder back on your left needle, slip the last two stitches from your right needle back to the left needle, and knit these three stitches together.
Cast On 120 (140,160,180) and evenly divided on dpns join in the round being careful not to twist.
Rounds 1-5: *P2, k5,p2, k1.  Repeat from * around.
Rounds 6-7: *P2, wyib slip 1, k3, wyib slip 1, p2, k1.  Repeat from * around.
Round 8: *P2, work slip st cable, p2, k1. Repeat from * around.
Repeat these 8 Rnds, until piece measures 3.5” (4”,4 ½” 5”) then shape crown.
Crown Shaping
Round 1: *P2, k5, p1 work pattern dec, p1, k5, p2, k1.  Repeat from * around
Round 2: *P2, k5, p1, k1, p1, k5, p2, k1.  Repeat from * around
Round 3: *P2, k5, work pattern dec, k5, p2, k1.  Repeat from * around
Round 4: *P2, k11, p2,k1.  Repeat from * around
Round 5: *P2, k4, work pattern dec, k4, p2, k1.  Repeat from * around
Round 6: *P2, k9, p2,k1. Repeat from * around
Round 7: *P2, k3, work pattern dec, k3,p2,k1.  Repeat from *around
Round 8: *P2, k7, p2, k1. Repeat from * around
Round 9: *P2, k2, work pattern dec, k2,p2,k1.  Repeat from * around
Round 10: *P2, k5, p2, k1. Repeat from * around
Round 11: *P2, k1, work pattern dec, k1, p1, k1. Repeat from * around
Round 12: *P2, k3, p2, k1.  Repeat from * around
Round 13: *P2, work pattern dec, p2, k1.  Repeat from * around
Round 14: *P2, k1, p2, k1.  Repeat from * around
Round 15: *P1, work  pattern dec, p1,k1.  Repeat from * around
Round 16: *P1, k1.  Repeat from * around
Round 17: K2tog around
Repeat  rows 16, and 17 of shaping one more time, Cut yarn leaving a tail for weaving in.  Using a yarn needle bring the sting through remaining stitches.  Pull tight, and weave in ends.  
DSC08338 (1).JPG 


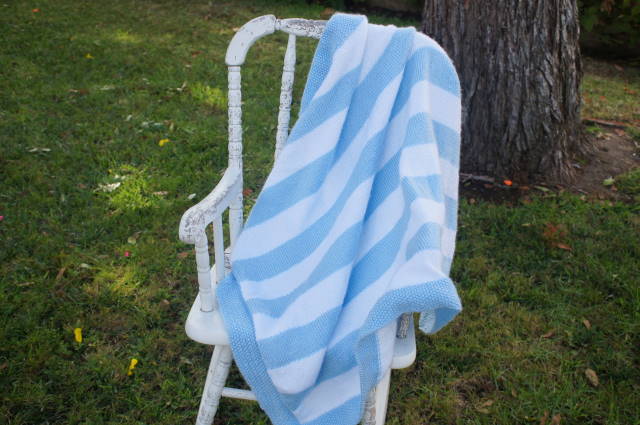
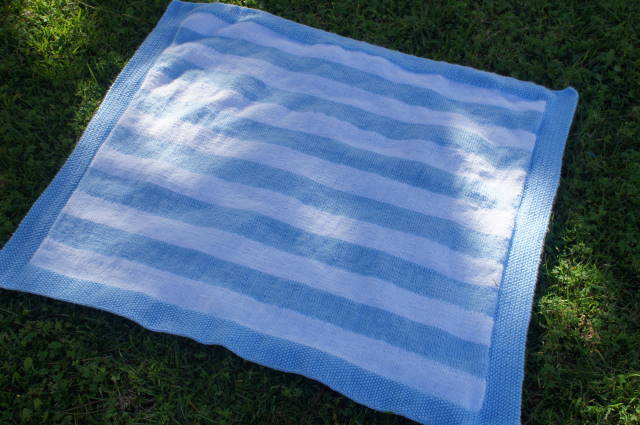
Striped Baby Blanket

Striped Baby Blanket
DSC08208 (1).JPG
Designed By: Heather Wells
Measurements roughly 35” x 34”
Materials:
Color A: Blue Light Worsted Weight Yarn (3)
Color B: White Light Worsted Weight Yarn (3)
Size 6 Circular Needles
Yarn Needle
Scissors
Yarn Used is Bernat Softee Baby


Gauge: 24s/30r = 4”


With Color A cast on 210 stitches
Work 20 rows in Seed St.  
Row 1: K 1, P1 across.
Row 2: P1, K1 across.


Body
Row 1: *K 1, P 1. Repeat from * 6 times.  Change to Color B, and K to the last 14 stitches.  Change to Color A, **K1, P1. Repeat from**  to end of row.


Row 2: P1, K1.  Repeat from * 6 times.  Change to Color B: Purl across to last 14 Stitches.  Change to Color A, **P1, K1. Repeat from ** to end of row.
Repeat Rows 1 -2:  7 times.  

Row 3: Usisng Color A,*K1, P1. Repeat from * 6 times.  K across to last 14 stitches.  **K1, P1.  Repeat from ** to end of row.


Row 4: Using Color A,*P1, K1. Repeat from * 6 times. P across to last 14 stitches.
**P1, K1. Repeat from ** to end of row.


Repeat Rows 3-4: 7 times.


Repeat rows 1-2: 8 times
Repeat rows 3-4: 8 times
Repeat rows 1-2: 8 times
Repeat rows 3-4: 8 times
Repeat rows 1-2: 8 times
Repeat rows 3-4: 8 times
Repeat rows 1-2: 8 times
Repeat rows 3-4: 8 times
Repeat rows 1-2: 8 times
Repeat rows 3-4: 8 times
Repeat rows 1-2: 8 times
****For next row in Color A work seed st for  14 st.  Then Knit to the last 14 st, then work seed St for the last 14 stitches.****
With Color A work Seed Stitch for the next 19 rows.  Bind off.  With Yarn Needle Weave in Ends. Block  


DSC08218 (2).JPG
DSC08206.JPG

Tuesday, August 4, 2015

August is National Sandwich Month!

I haven't done any sandwich tutorials on youtube for you, but that is about to change.

To begin the month, I made a grilled cheese sandwich tutorial
I am now filming a peanut butter and jelly tutorial!  The extended cut will be up on Patreon hopefully later today, and the youtube version will be up Thursday :)

I love sandwiches,  hopefully I can make a few more sandwiches for you all this month :)
P.S.  Here is the latest,  Egg Salad!!!!


Heather

Once the videos are posted I will come back and add them here for you.