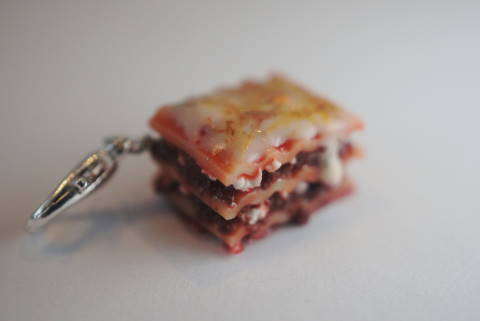
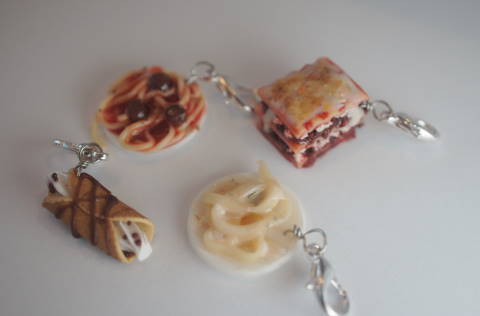
Lasagna Tutorial
Created by Heather of Sweet & Savory Trinkets
Materials:
1 - 2oz Package of Ecru Premo
1 - 2oz Package of Translucent Premo
1 - 2oz Package of Burnt Umber Premo
1 - 2oz Package of White Sculpey III
Nutmeg Grinder
Fimo Deco Gel
Straight Rigid Clay Blade
Small Wavy Clay Blade (see notes)
Small Metal DPN
Toothpicks
Powdered Food Color in Ivory, Red, and Spiced Pumpkin, or Pastel dust in White, Red, Rust, and Yellow Ochre
A Few Sheets of Plain White Paper
Pastel dust in Yellow Ochre and Brown
Gloss Glaze
Notes: The noodle shape is made using a wavy clay blade. Mine is from Sculpey. It is in a set of 4 clay blades, called Sculpey Super Slicer, it comes with a rigid straight blade, a flexible straight blade, a large wavy blade, and a small wavy blade. I love this set, and buy it any time I need a new blade.
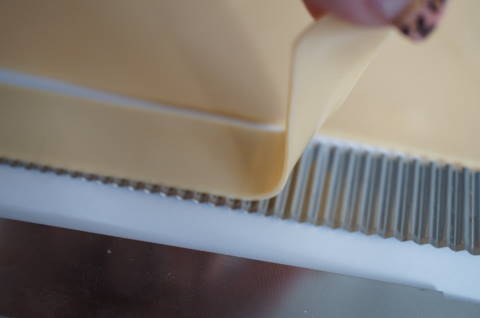
Step 1: Condition 1 ½ rectangles of Translucent Premo and ½ a rectangle of Ecru Premo. Roll it out to 1/2mm thick (# 3 on the Atlas Pasta Roller). Cut a strip of clay no wider than your wavy clay blade.

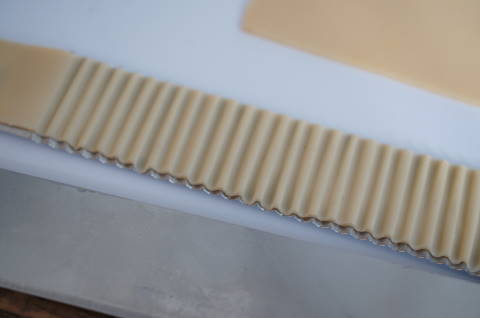
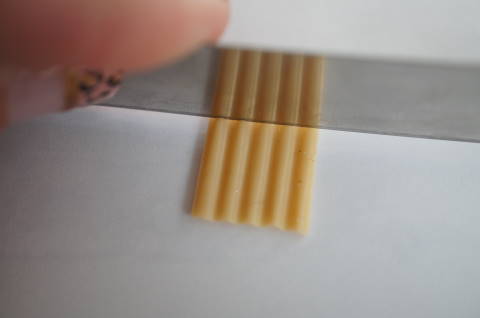
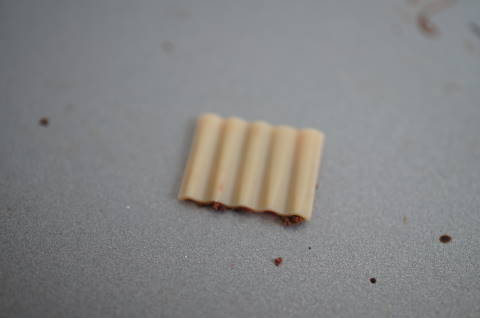
Step 2: Lay your strip of clay across your wavy blade length wise. Twist your DPN in each indent of the wavy blade, to make the lasagna noodle. Bake at manufacturer instructions on the blade. Once it cools remove the clay strip from your blade.
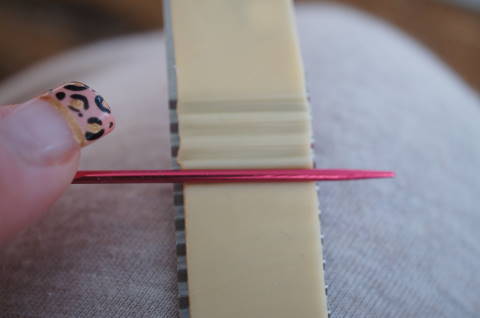
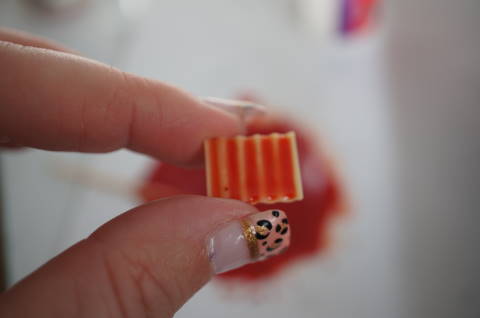
Step 3: Cut a rectangle from your strip of baked clay. Mine are x . You can make them bigger or smaller if you like.

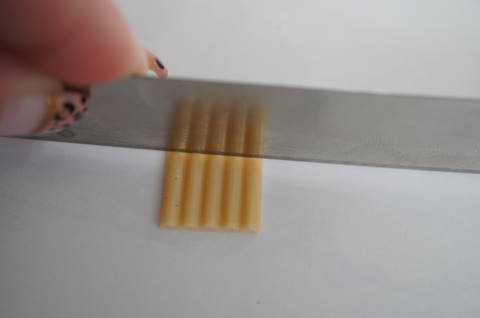
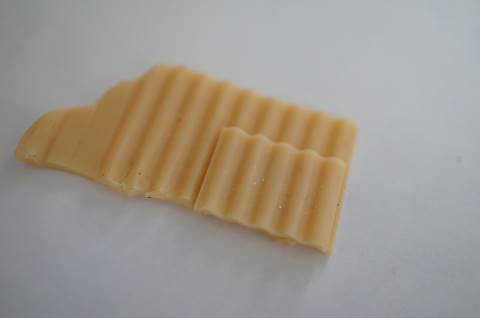
Step 4: Place your finished noodle, and place it on the long strip to cut out another noodle the same size. Do this once more so you will have three noodles.
Step 5: Condition a mixture of ⅔ Translucent Premo, to ⅓ White Sculpey III. Mix in some dried parsley. This is your crumbled cheese. Use a nutmeg grinder to grate the mixed clay into crumbles.
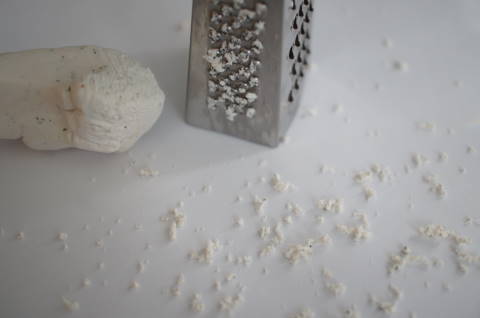
Step 6: Condition Some Burnt Umber Premo, clean your nutmeg grinder, and grate some. This is your ground meat. I have 2 grinders. I clean them with toothpick, and toothbrushes.

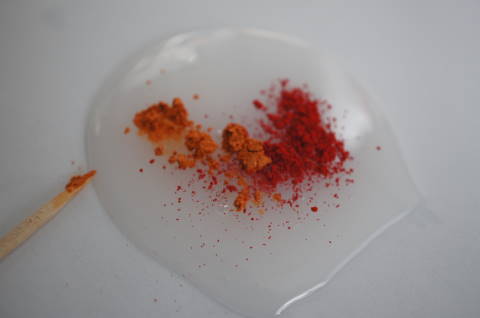
Step 7: Pour a little Fimo Deco Gel on a sheet of paper. Add Red, and Spiced Pumpkin colored powdered food coloring, or pastel dust in red, rust, and a tiny bit of brown. Mix it up for your red sauce.

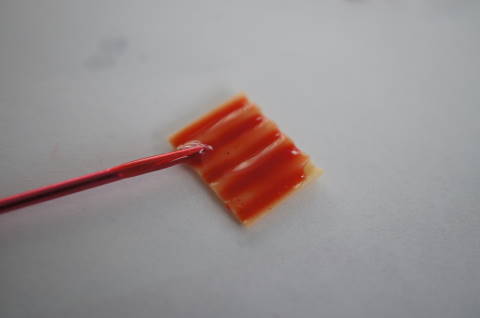
Step 8: Paint the bottom of a noodle with red sauce and sprinkle on a little ground meat. Place it down on your baking sheet.
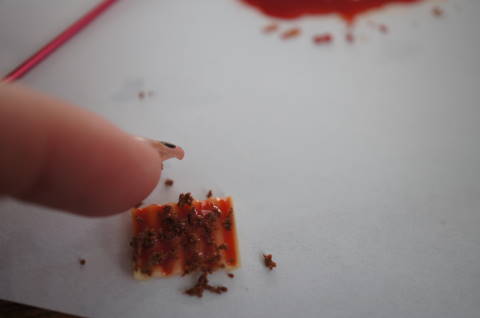
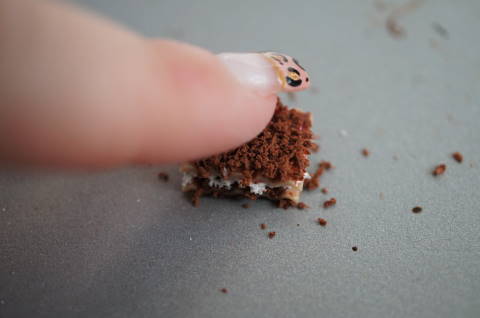
Step 9: Paint the top of your noodle with some more red sauce. Add ground meat until there is a solid layer, and tap it with your index finger to flatten it.

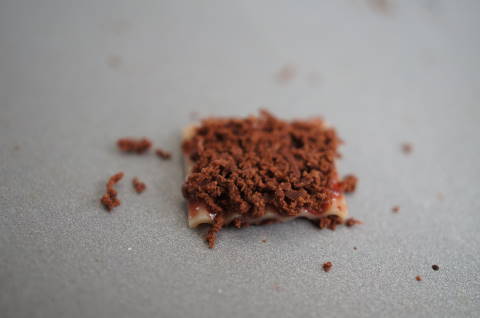
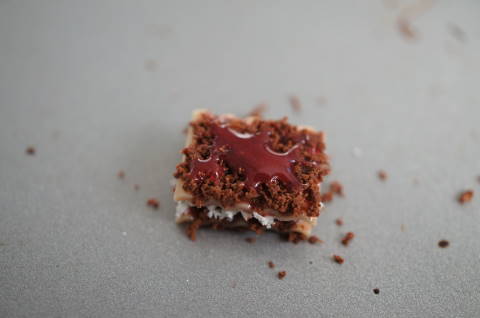
Step 10: Add a little red sauce, and add some of your crumbled cheese.


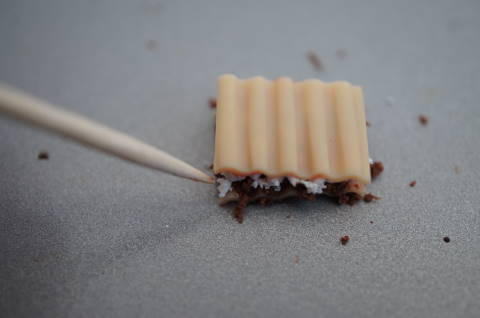
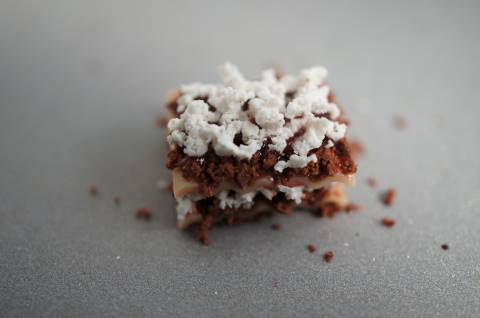
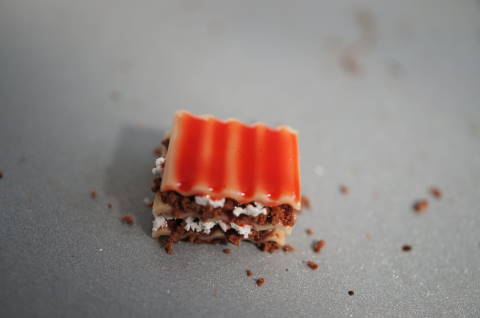
Step 11: Add some red sauce to the bottom of a new noodle, and place it on the meat and cheese layer you just did. If there are any places that need more meat or cheese at the edges, use your toothpick or DPN to add them now.
Step 12: Add red sauce to the top of the noodle you just placed on top, and add another meat and cheese layer like you did before.
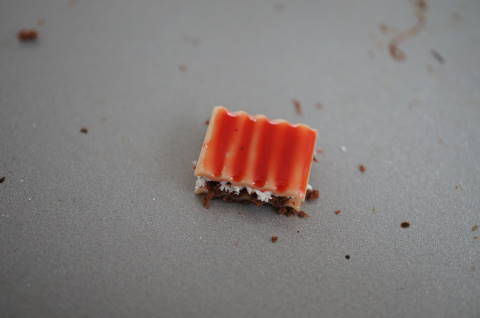
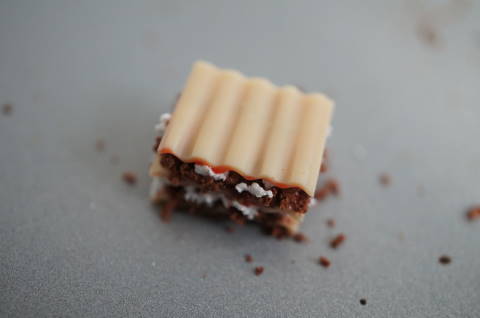
Step 13: Add red sauce to the bottom of your last noodle, and place it on top. Then add red sauce and a little crumbled cheese to the top of your lasagna. Add any meat and cheese to the sides if you need to, a little red sauce dabbed on in a few places, so you can see there is red sauce. Bake according to manufacturer instructions

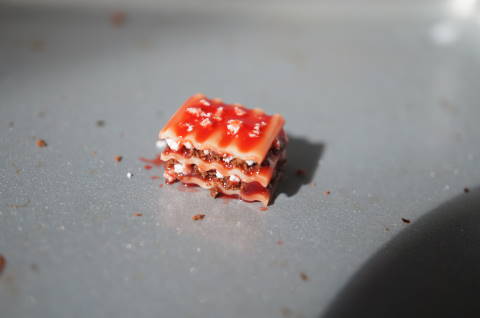
Step 14: Pour a little Fimo Deco Gel on a sheet of paper, and add ivory powdered food coloring, or pastel dust in white, and a little yellow ochre.
Mix, and add a little dried parsley.

Step 15: Add a little of your white sauce on top of the lasagna. your can drizzle some going down the side if you wish. Bake according to manufacturer instructions.

Step 16: Dip a toothpick in a little water, and roll it in some yellow ochre and brown pastel, and add it to the top of your lasagna for a toasty look on top. Varnish with a gloss glaze anywhere you want the sauce to look wet.
look wet.

No comments:
Post a Comment